Capturing stunning portrait photos goes beyond just clicking the shutter—it’s about understanding the art of lighting.
Proper lighting is essential to bringing out the best in your subject, emphasizing their features, and setting the right mood for the portrait.
Whether you’re shooting in a studio or using natural light outdoors, lighting is the key to creating memorable, professional-looking portraits.
In this article, we will explore essential lighting tips, how to create the perfect mood in your portrait photos, posing techniques, camera settings for sharpness, and the importance of backgrounds in portrait photography.
Portrait Photos: Essential Lighting Tips
Lighting is one of the most critical factors in capturing beautiful portrait photos. The way light interacts with the subject can highlight features, create mood, and add depth. Here are some essential lighting tips for your portrait photos:
1. Soft Lighting for Flattering Results
- Soft light creates an even tone and is more flattering to the subject’s skin. You can achieve soft lighting by using diffusers or shooting in shaded areas when outdoors.
2. Direction of Light
- The direction from which light falls on your subject greatly impacts how their features are illuminated. Front lighting illuminates the face evenly, while side lighting creates shadows that add depth and emphasize texture.
3. Natural vs. Artificial Light
- Natural light is perfect for soft, beautiful portraits, but it’s not always available. Artificial lighting, such as softboxes or LED panels, gives you full control over your lighting setup, allowing you to create the perfect conditions for your portrait photos.
4. Avoiding Harsh Shadows
- To avoid harsh shadows on the subject’s face, use a fill light to balance out the exposure or shoot in locations with softer light sources like overcast skies or shaded areas.
Using these tips can help you create portrait photos with balanced lighting and bring out the best in your subject.
How To Create The Perfect Mood In Your Portrait Photography
The mood of your portrait photos can be determined largely by your lighting setup. Here are some tips for creating the perfect mood with light:
1. Dramatic Mood with Side Lighting
- Side lighting creates strong shadows, which can add mystery or drama to your portraits. It is perfect for emphasizing features like cheekbones and jawlines, giving your portraits a more intense feel.
2. Soft and Romantic Mood with Backlighting
- Backlighting creates a glowing effect around the subject, producing a more romantic or ethereal mood. This works great for portraits of couples, children, or when you want a more artistic feel.
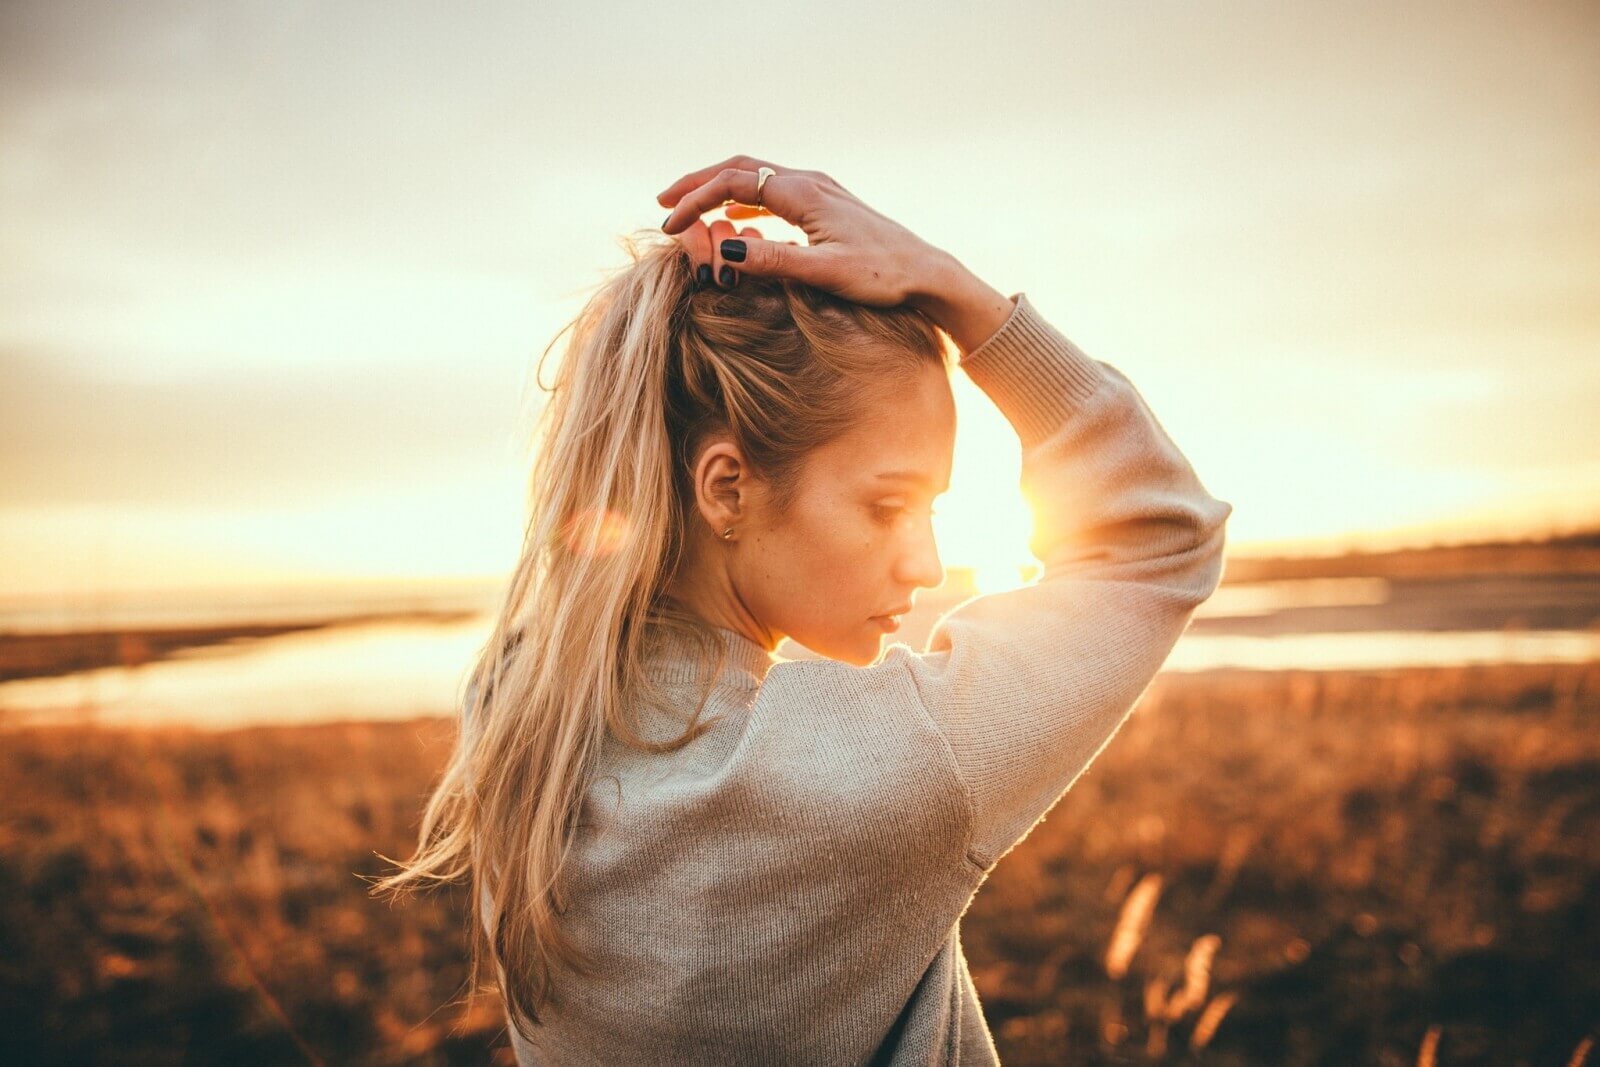
3. Warmth and Comfort with Soft, Diffused Light
- For a warm, welcoming atmosphere, use soft, diffused light. Shooting during golden hour (early morning or late afternoon) or using diffusers will give your portrait photos a soft, inviting glow.
4. Cold, Isolated Mood with High-Contrast Lighting
- High-contrast lighting (with dark shadows and bright highlights) can create a more somber or isolated mood. This works well for dramatic or moody portraits where the light emphasizes the subject’s emotional state.
By manipulating lighting, you can set the tone and atmosphere in your portrait photos, conveying different moods and emotions.
Understanding Posing For Portrait Photos
The way a subject is posed can significantly affect the outcome of portrait photos. Here are some tips for getting the best poses for your portraits:
1. Relaxed, Natural Poses
- Natural and relaxed poses help the subject feel comfortable, which translates into more authentic and expressive portraits. Encourage the subject to move slightly or change positions to capture spontaneous moments.
2. Direct Eye Contact for Intimacy
- Direct eye contact with the camera can create a more intimate connection between the subject and viewer. However, don’t be afraid to experiment with angles and perspectives for a more candid feel.
3. Angles to Flatter the Face
- Slightly angling the subject’s head can create more dynamic and flattering portraits. Try turning the head slightly to the left or right to create shadows and highlight the subject’s facial features.
4. Hands and Body Language
- Positioning the hands naturally, either resting at the subject’s sides or gently placed on their body, can improve the overall composition of your portrait photos. Avoid stiff or awkward arm positions.
By understanding how to guide your subject’s body and facial expressions, you can create portrait photos that feel natural and authentic.
The Best Camera Settings For Sharp Portrait Photos

Camera settings play a significant role in achieving sharp and clear portrait photos. Here are the key settings to consider:
1. Aperture (f/Stop)
- Use a wide aperture (like f/1.8 or f/2.8) to create a shallow depth of field. This helps blur the background, ensuring the focus remains on the subject’s face.
2. Shutter Speed
- For still portraits, set the shutter speed to around 1/125 or faster to avoid motion blur. If your subject is moving, increase the shutter speed accordingly.
3. ISO Settings
- Keep the ISO low (such as ISO 100 or 200) to minimize noise. Only increase the ISO if you’re shooting in low light, but be mindful that higher ISO settings may introduce grain.
4. White Balance
- Make sure your white balance is set correctly to prevent unnatural skin tones. Adjust it based on the lighting conditions to ensure the subject’s complexion appears natural.
By fine-tuning these settings, you’ll be able to capture sharp, clean portrait photos that bring out the best in your subject.
Why Backgrounds Matter In Portrait Photography
The background of your portrait photos plays a crucial role in enhancing or distracting from the subject. Here’s why you should pay attention to backgrounds when shooting portraits:
1. Keep the Focus on the Subject
- A busy or cluttered background can take attention away from the subject. Use a blurry background (achieved with a wide aperture) to keep the focus on your subject.
2. Complementing the Subject
- Ensure the background complements the subject rather than overpowering them. Neutral or subtle backgrounds allow the subject to stand out, while natural elements like trees, buildings, or landscapes can frame the subject and add context.
3. Use the Background to Tell a Story
- The background can also help convey the subject’s personality. For example, a coffee shop or street scene might suggest an urban, creative vibe, while a garden or beach can evoke a relaxed, natural atmosphere.
4. Avoid Distractions
- Make sure the background doesn’t have elements that distract from the subject. You can also blur the background using a shallow depth of field to reduce distractions and create more focus on the subject.
By paying attention to backgrounds in your portrait photos, you ensure that the subject is always the main focus, and the background enhances the overall feel of the image.
See you in the next post,
Anil UZUN