Understanding Light metering modes is one of the most important steps in achieving consistent and well-exposed photographs.
Every camera relies on internal systems to evaluate light, but the way that light is interpreted depends on the selected metering mode.
If you rely only on automatic settings without understanding how Light metering modes work, you may often end up with images that are either too dark or too bright.
At its core, a camera tries to convert everything it sees into a balanced exposure based on an average tone. However, real-world scenes are rarely balanced. Bright skies, dark shadows, and uneven lighting can confuse the camera’s default calculations.
This is where Light metering modes become essential. They allow you to tell the camera which part of the frame should matter most when calculating exposure. By learning how to control Light metering modes, you gain creative authority over your images.
Instead of reacting to incorrect exposures, you proactively guide the camera to prioritize your subject. This is especially useful in professional scenarios such as portrait photography, street photography, or high-contrast environments.
In this guide, you will learn how Light metering modes function, when to switch between them, and how to combine them with other tools for more reliable results.
What Light Metering Modes Do: How Your Camera Decides Exposure
Light metering modes determine how your camera reads light from a scene and calculates the correct exposure settings.
The camera measures the brightness of the scene and attempts to render it as a neutral midtone. However, this assumption does not always match reality, especially when the scene contains strong highlights or deep shadows.
Different Light metering modes prioritize different areas of the frame. Some modes evaluate the entire scene, while others focus on a specific portion.
This means the same composition can produce different exposures depending on the selected mode. For example, if you are photographing a subject against a bright background, a general metering mode might underexpose the subject.
In contrast, a more focused mode will prioritize the subject’s brightness and produce a more accurate result. This flexibility is why understanding Light metering modes is crucial.
Modern cameras use advanced algorithms, but they still rely on your input to determine what is important. By choosing the right mode, you guide the camera’s decision-making process and reduce the need for constant adjustments later.
Ultimately, Light metering modes are not just technical tools. They are creative controls that help you shape the final look of your image.
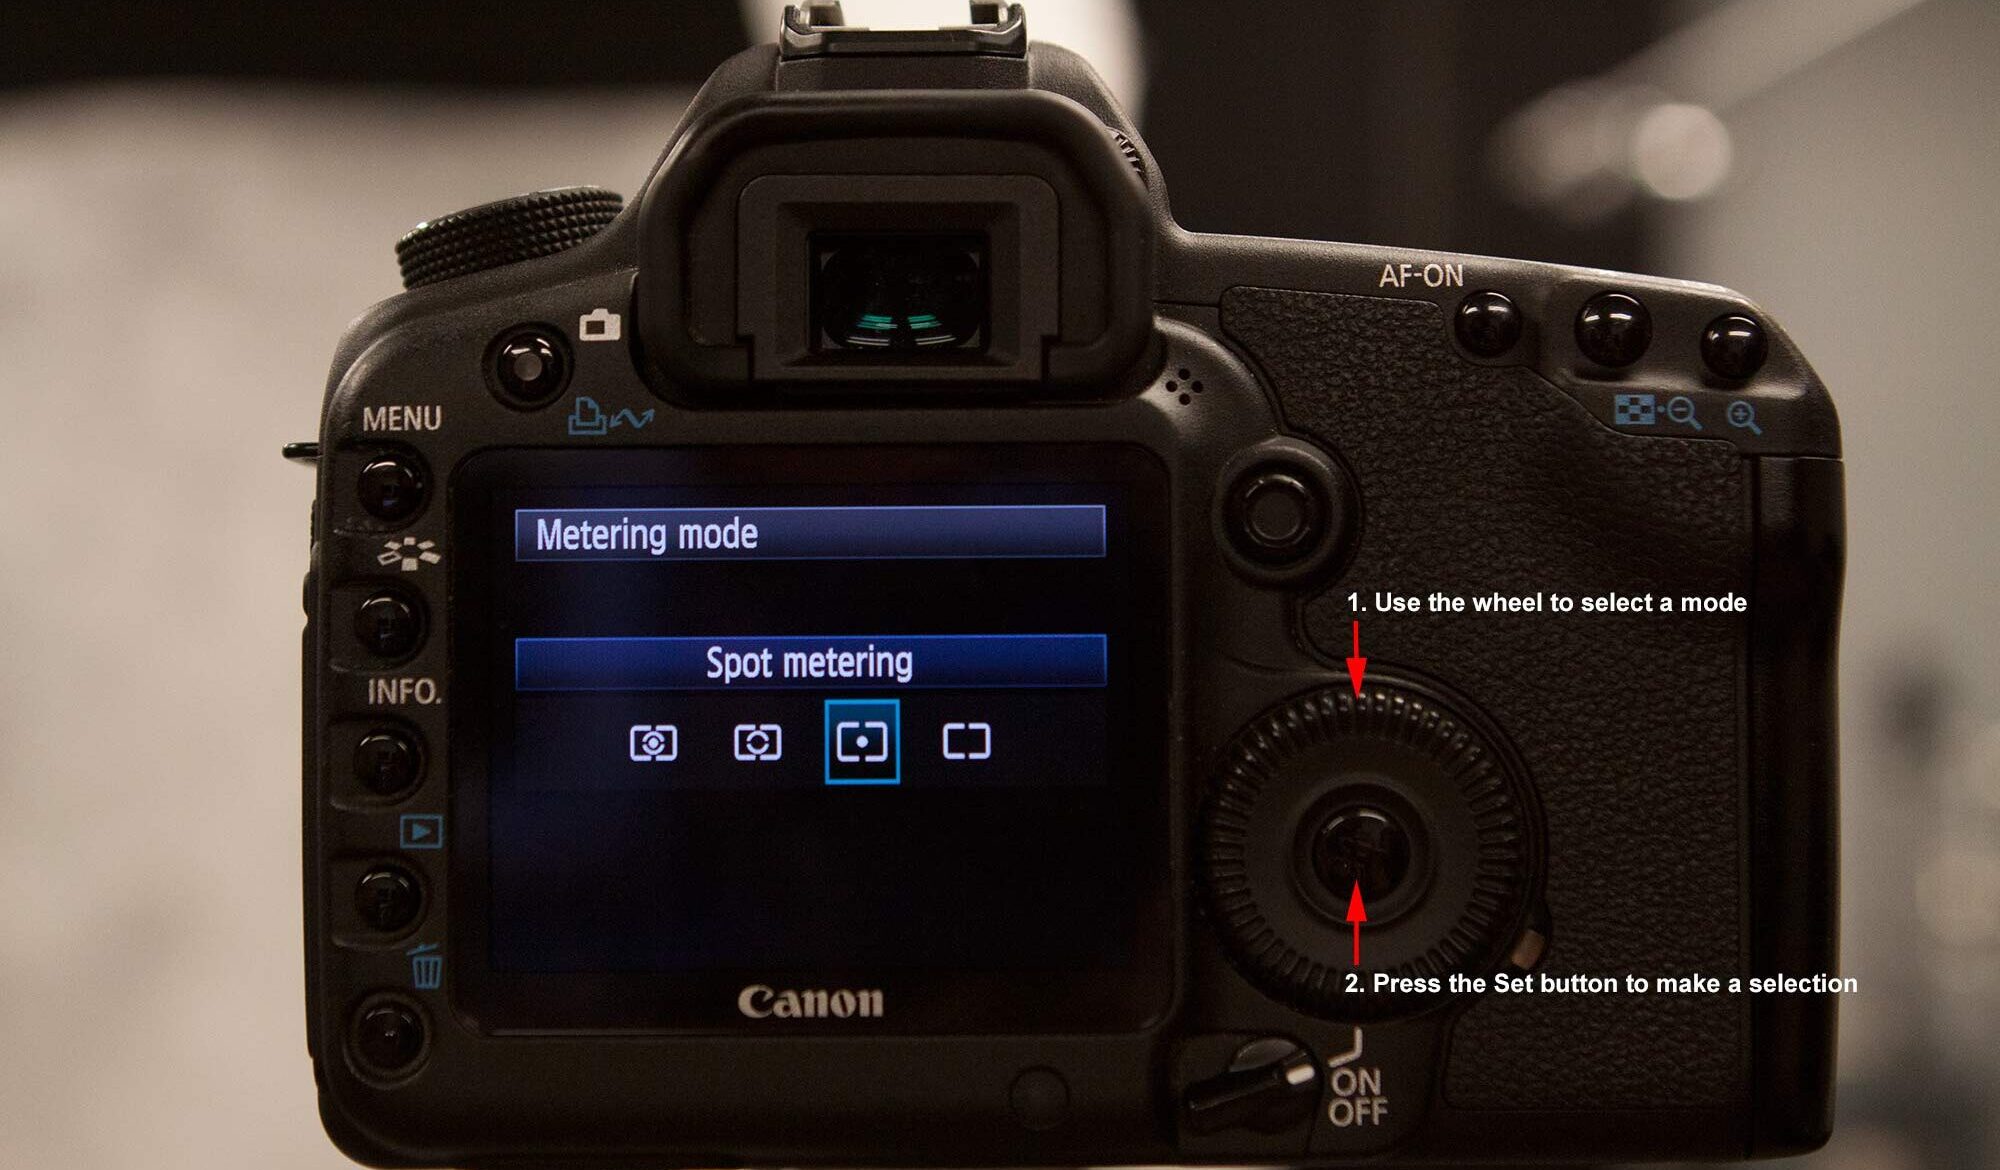
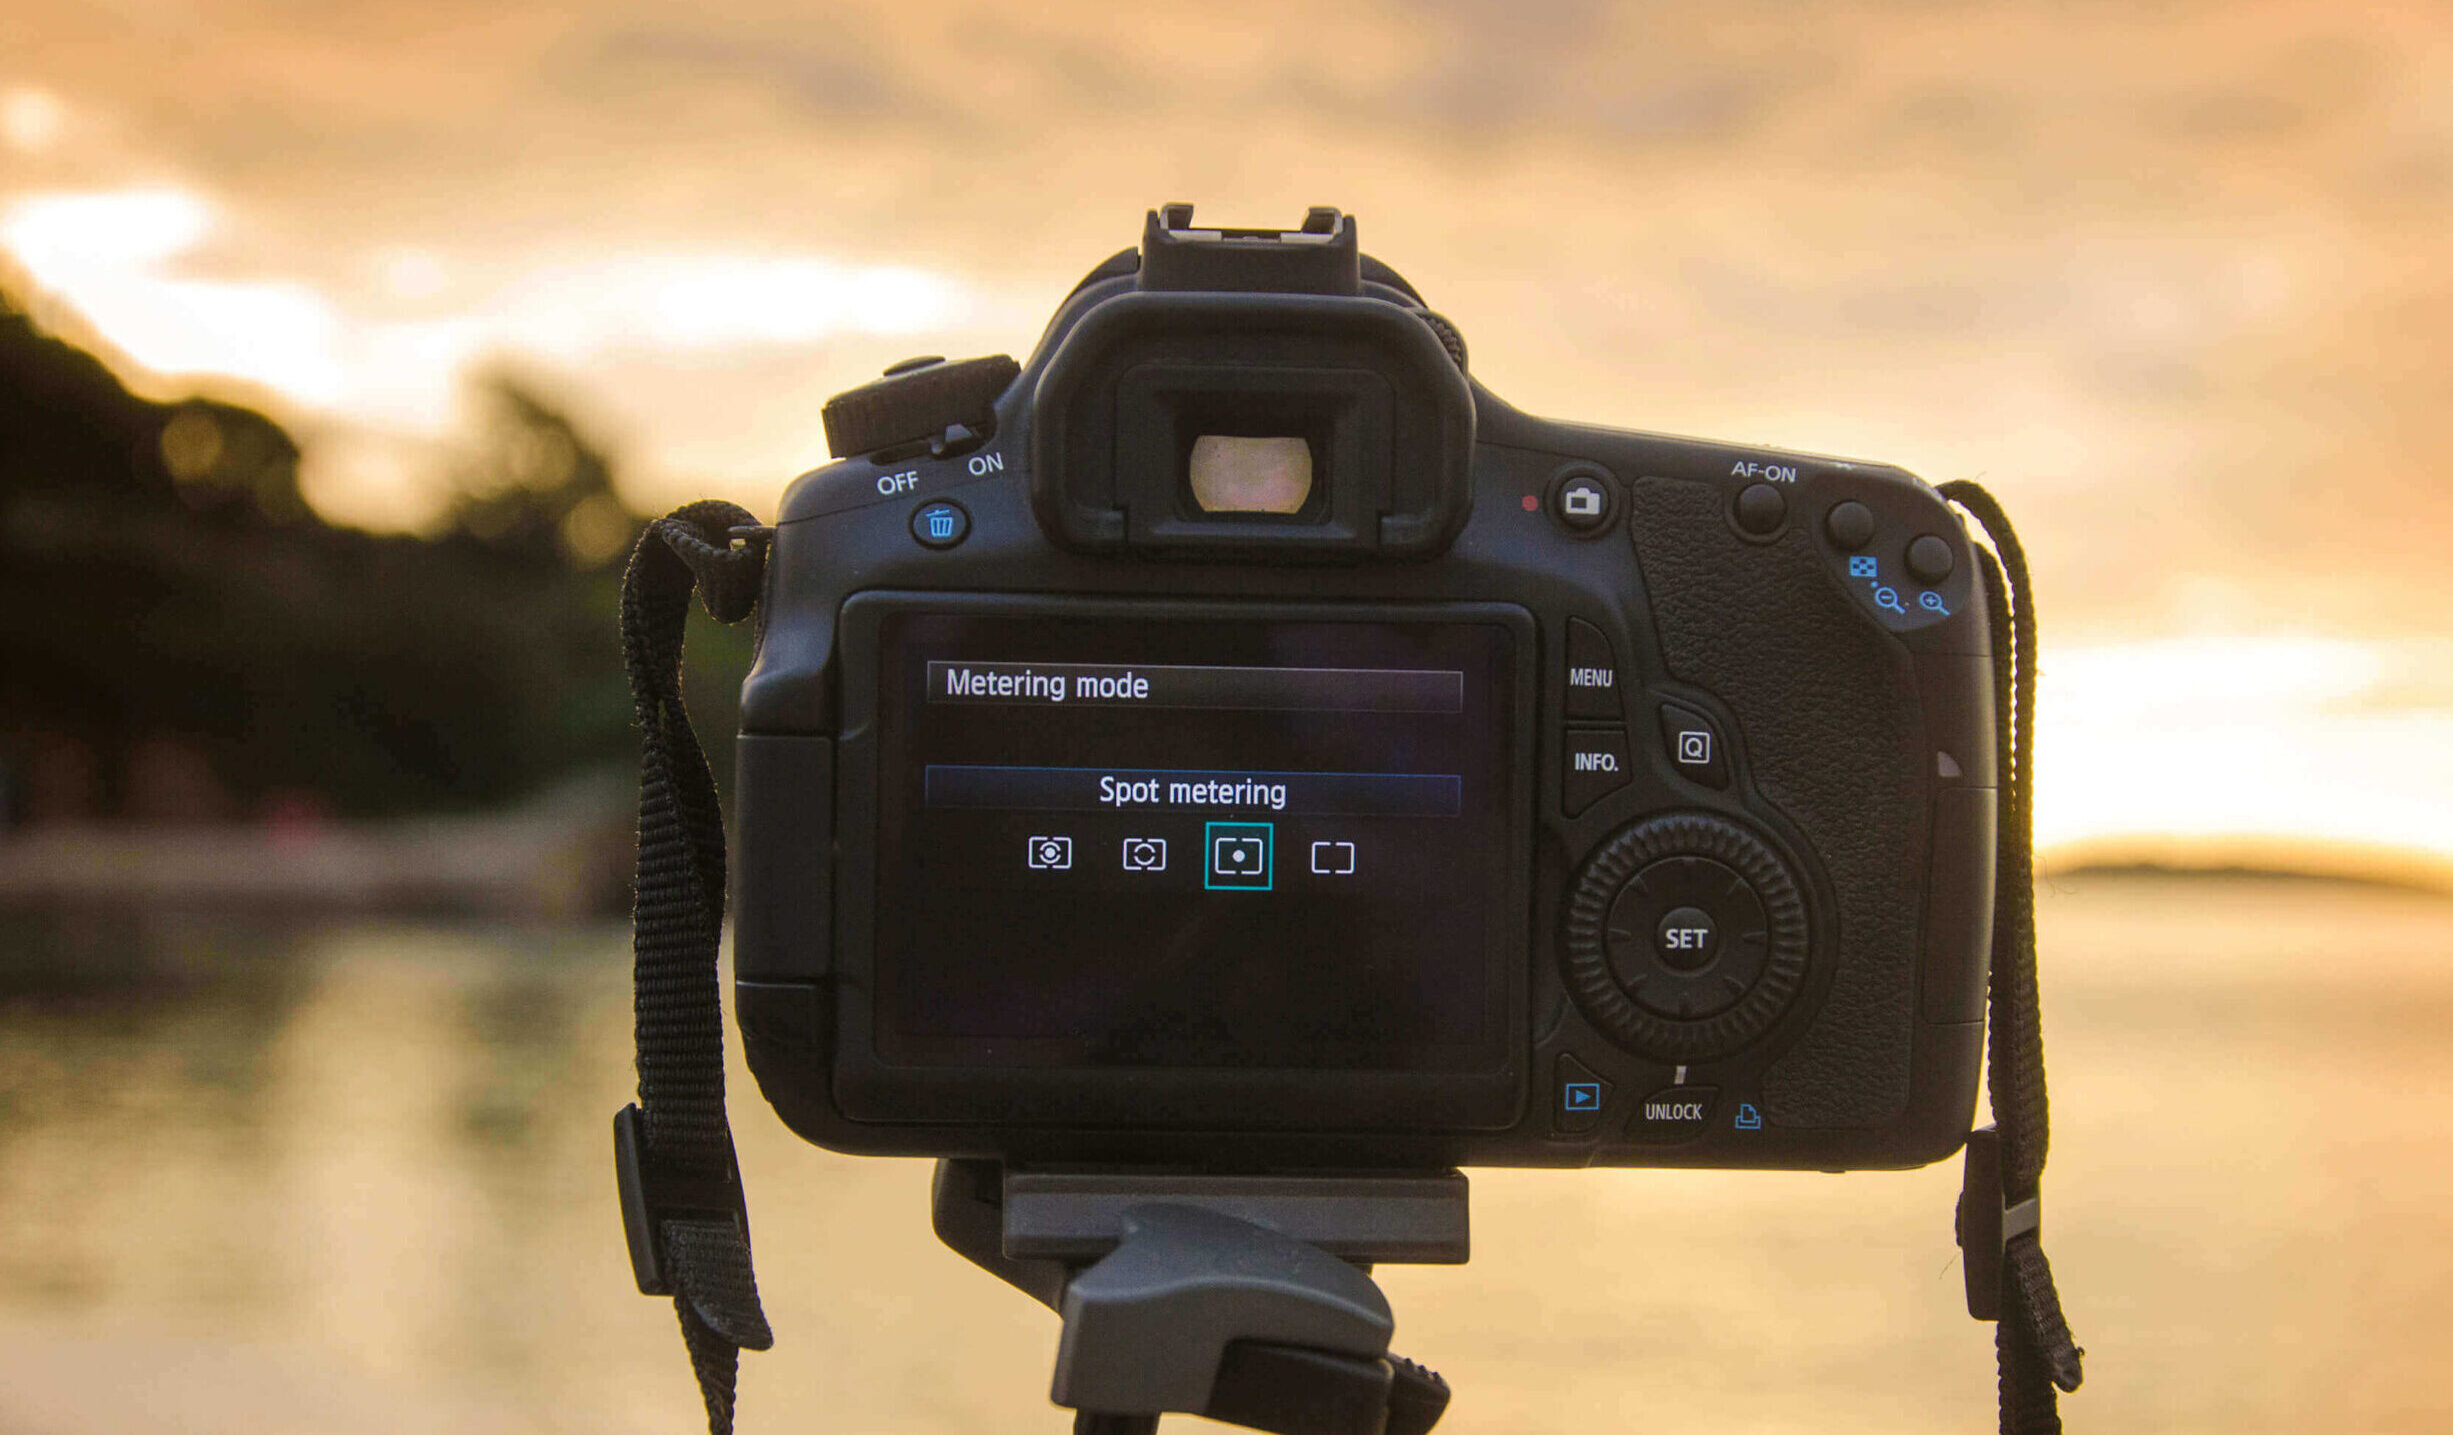
Types Of Light Metering Modes: Matrix, Center-Weighted, And Spot Explained
There are three primary Light metering modes found in most cameras: Matrix, Center-Weighted, and Spot. Each mode serves a specific purpose and is suited to different shooting conditions.
Matrix metering analyzes the entire frame and creates a balanced exposure based on multiple zones. It is the most commonly used option because it works well in evenly lit scenes. For beginners, this is often the safest and most reliable choice.
Center-Weighted metering places more importance on the center of the frame while still considering the surrounding areas. This makes it ideal for portraits, where the subject is usually positioned centrally.
It offers more control than Matrix without being too restrictive. Spot metering is the most precise of all Light metering modes. It measures light from a very small area, often linked to the focus point.
This is particularly useful in high-contrast situations, such as backlit scenes or stage lighting. It ensures that your main subject is exposed correctly, even if the rest of the scene is not.
Choosing between these Light metering modes depends on your subject, lighting conditions, and creative intent. Mastering all three gives you the flexibility to handle any scenario.
Using Exposure Compensation And The Histogram For More Consistent Results
While Light metering modes provide a strong foundation, combining them with exposure compensation and histogram analysis takes your results to the next level.
Exposure compensation allows you to adjust the camera’s suggested exposure without changing other settings. For example, if your image appears too dark, you can increase exposure slightly.
This is especially useful when the camera misinterprets bright or dark scenes. The histogram is a visual representation of the tonal distribution in your image.
It shows whether your photo is too bright, too dark, or well-balanced. By checking the histogram after a shot, you can quickly identify and correct exposure issues.
When used together with Light metering modes, these tools create a more reliable workflow. Instead of relying solely on the camera’s automatic decisions, you actively refine the final result.
This combination is particularly valuable in challenging lighting conditions. It helps you maintain detail in both highlights and shadows while preserving the overall look of the scene.
When To Switch Light Metering Modes: Portraits, Landscapes, And High-Contrast Scenes
Knowing when to switch between Light metering modes is just as important as understanding how they work. Each scene presents unique lighting challenges, and selecting the correct mode can significantly improve your results.
For portraits, Center-Weighted or Spot metering is usually the best choice. These modes ensure that the subject’s face is properly exposed, even if the background is much brighter or darker.
This is especially important in outdoor conditions where light can change quickly. In landscape photography, Matrix metering is often the preferred option.
It captures the overall brightness of the scene and provides a balanced exposure across the frame. This is useful when both the sky and foreground need to be visible and well-exposed. High-contrast scenes require more careful handling.
Situations like sunsets, stage performances, or window-lit interiors can easily confuse automatic exposure systems. In these cases, Spot metering allows you to isolate the most important part of the scene and expose it correctly.
By adapting your use of Light metering modes to the environment, you reduce guesswork and improve consistency. This approach leads to more predictable and professional results.
A Simple Field Workflow: Quick Tests, AE Lock, And Common Mistakes
Developing a practical workflow is key to mastering Light metering modes in real-world situations. A consistent approach helps you work faster and avoid common mistakes.
Start by evaluating the scene and selecting the most appropriate metering mode. Take a quick test shot and review the result. If necessary, adjust exposure compensation or switch modes. This initial step ensures you are starting with a solid base.
AE Lock is another powerful tool. It allows you to lock exposure based on a specific area and then recompose your shot. This is especially useful when your subject is not in the center of the frame.
Common mistakes include relying too heavily on one mode, ignoring the histogram, and skipping test shots. These habits can lead to inconsistent results and missed opportunities.
By practicing regularly and refining your workflow, Light metering modes become second nature. You gain confidence in your settings and can focus more on composition and storytelling.
See you in the next post,
Anil UZUN