Time lapse photography is one of the most visually powerful techniques in modern photography and videography.
It allows you to compress long periods of time into short, dynamic sequences that reveal movement and change in a way the human eye cannot normally perceive.
Whether it is clouds drifting across the sky, a sunset unfolding, or a busy city transitioning from day to night, time lapse photography transforms ordinary scenes into cinematic visuals.
At its core, this technique involves capturing a sequence of images at set intervals and then combining them into a video. The illusion of motion is created when these images are played back at standard video frame rates.
However, achieving professional results requires more than simply taking repeated shots. Planning, consistency, and technical control are essential.
A successful time lapse photography workflow begins with choosing the right subject and understanding how it evolves over time.
Slow changes, like moving shadows or blooming flowers, require longer intervals, while fast-moving subjects demand quicker capture rates.
In addition, camera stability, exposure consistency, and battery management all play a critical role. Another key factor is shooting in manual mode to maintain visual consistency across frames.
Small exposure changes can cause flickering in the final video, which is one of the most common mistakes beginners make. By mastering the fundamentals of time lapse photography, you can create smooth, professional sequences that elevate your content.
What Time Lapse Photography Is: Best Subjects And The Basic Workflow
Time lapse photography works by capturing still images at consistent intervals and then stitching them together into a moving sequence. The magic lies in how time is compressed. Events that take hours or even days can be presented in just a few seconds.
Choosing the right subject is critical. Ideal subjects include moving clouds, sunrises, sunsets, traffic flows, crowds, construction projects, and natural phenomena like tides or stars.
These subjects offer visible changes over time, making them perfect for time lapse photography. The basic workflow starts with planning. You need to decide how long you want the final clip to be and how much real-world time you want to capture.
From there, you calculate the interval between shots. For example, a sunset might require a 5 to 10 second interval, while fast-moving traffic could work with a 1 to 2 second interval.
Once planning is complete, you set up your camera on a stable tripod, compose your shot, and lock your settings. Consistency is key in time lapse photography, so avoiding automatic settings is crucial.
After capturing all frames, the images are imported into editing software, where they are compiled into a video. This process turns a series of still photos into a fluid visual narrative, making time lapse photography a powerful storytelling tool.
Gear Checklist: Tripod, Intervalometer, Batteries, And Storage Planning
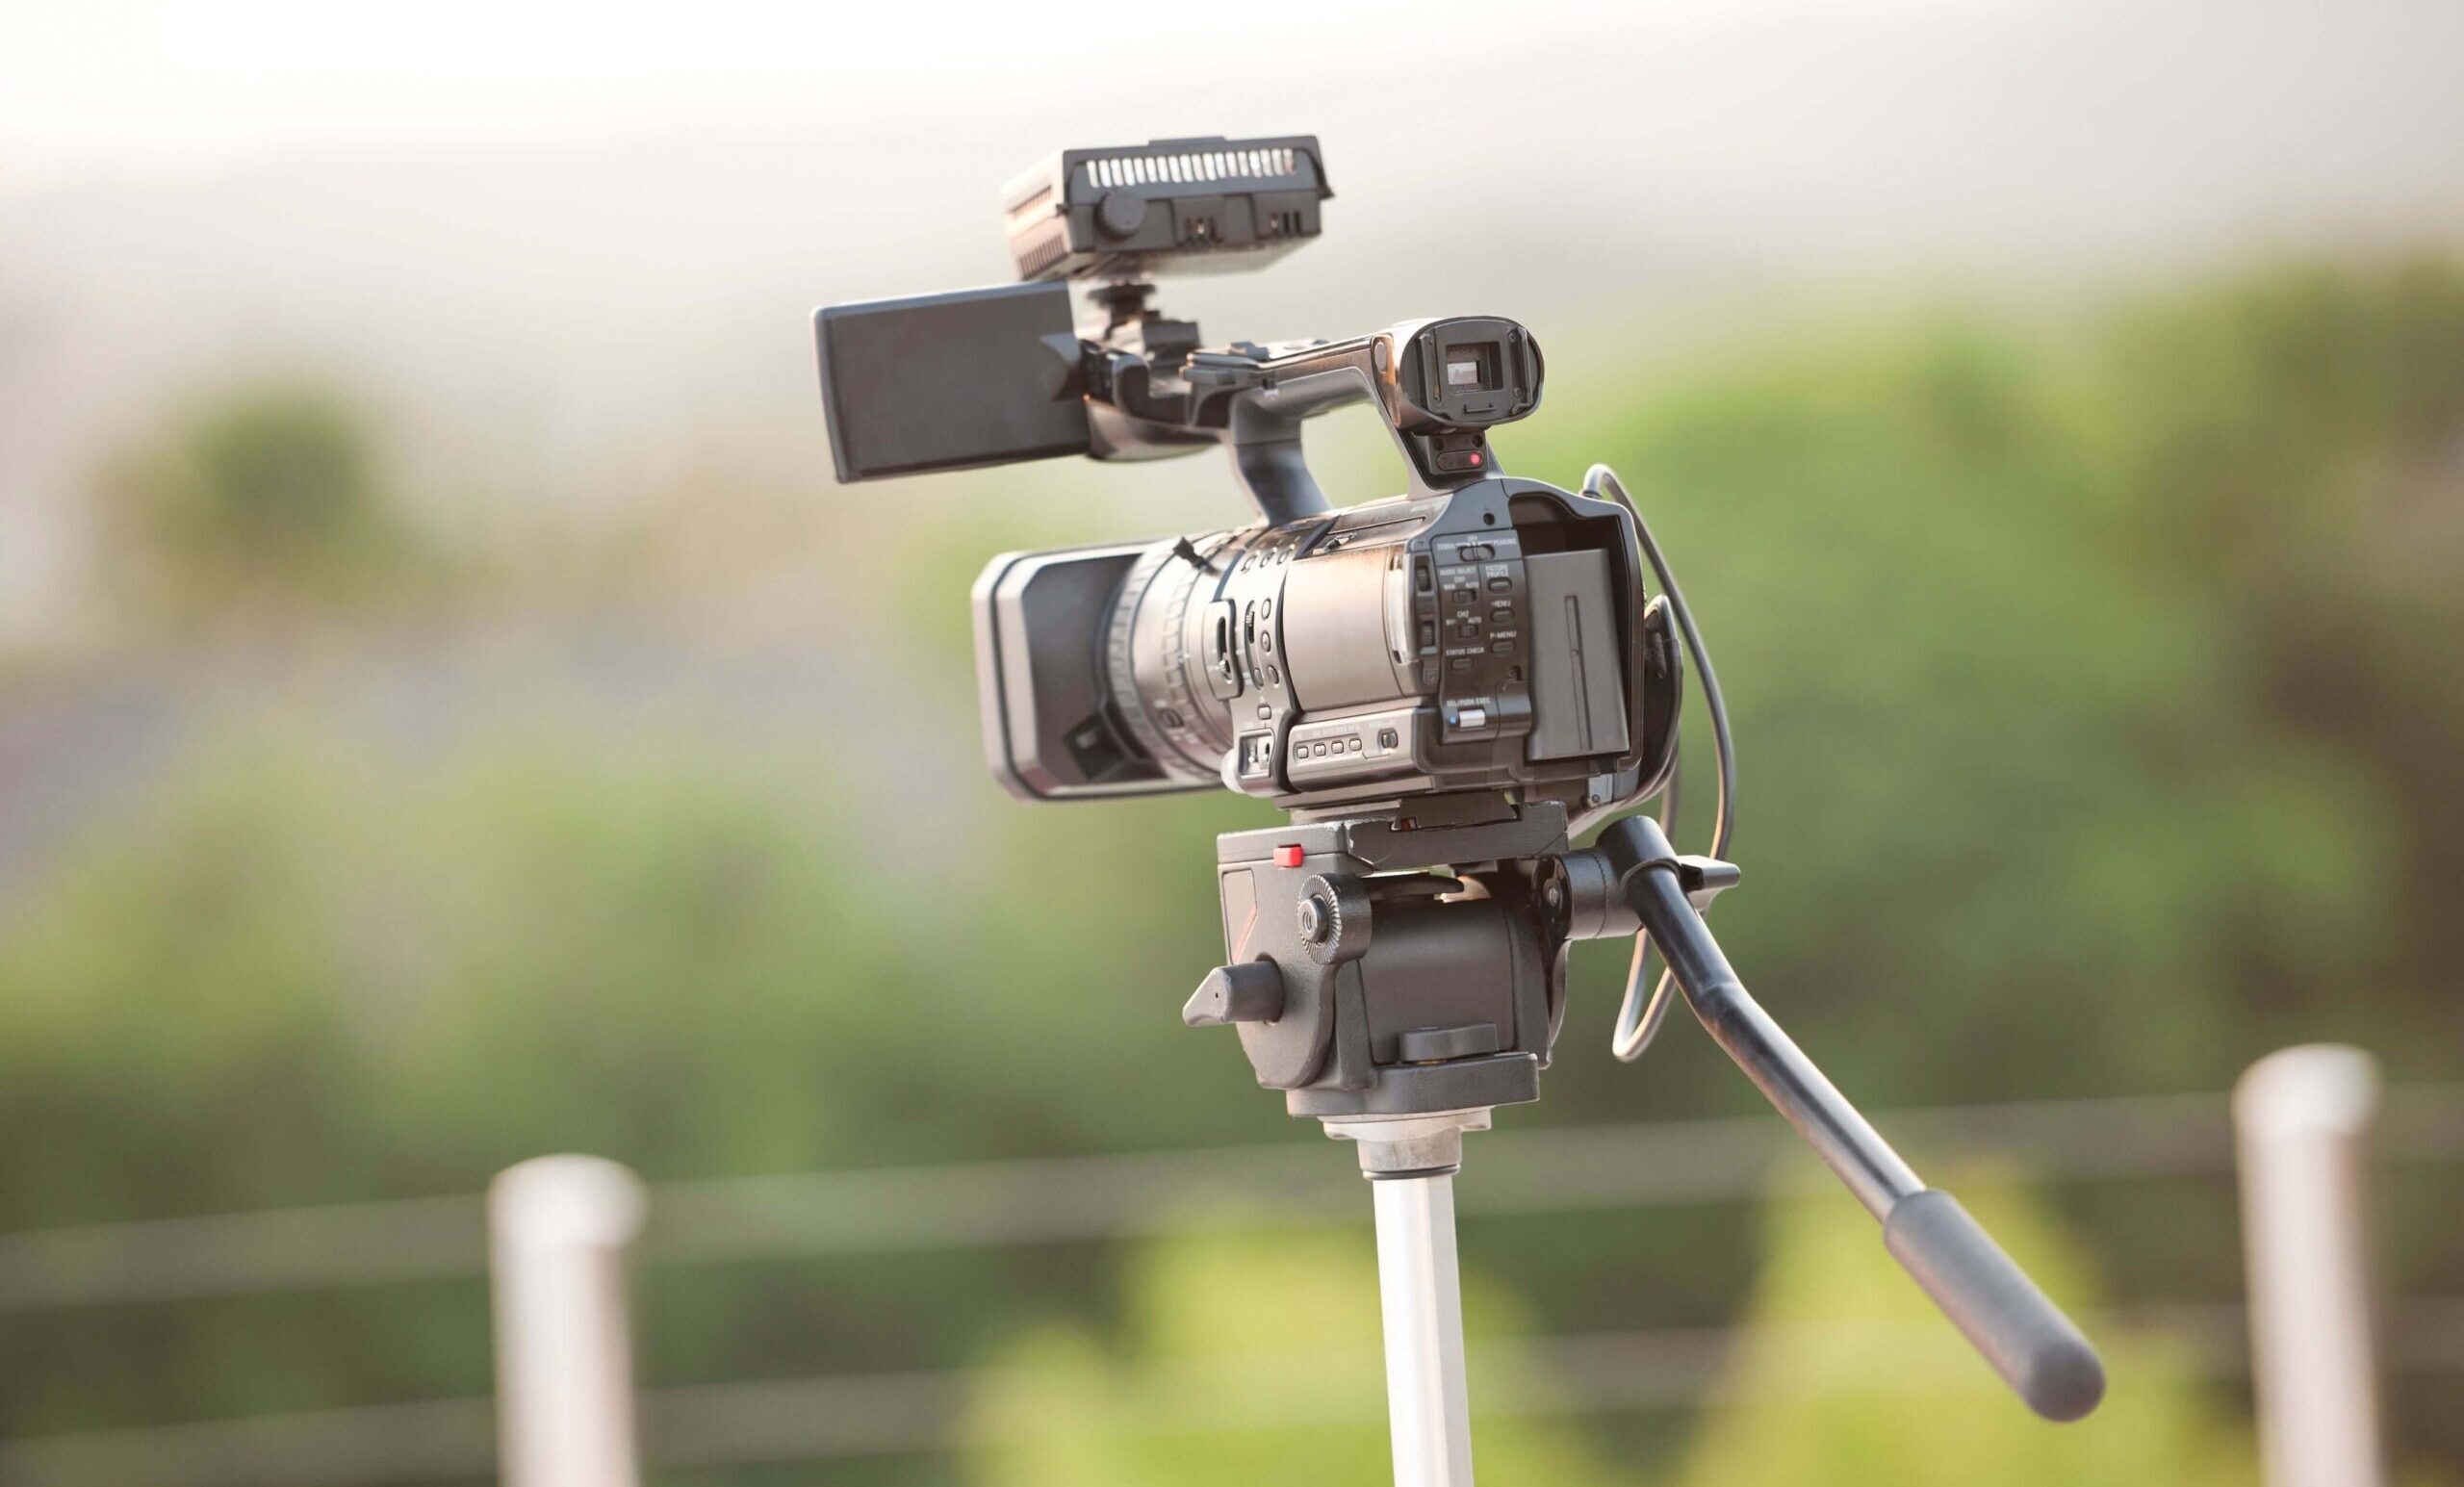
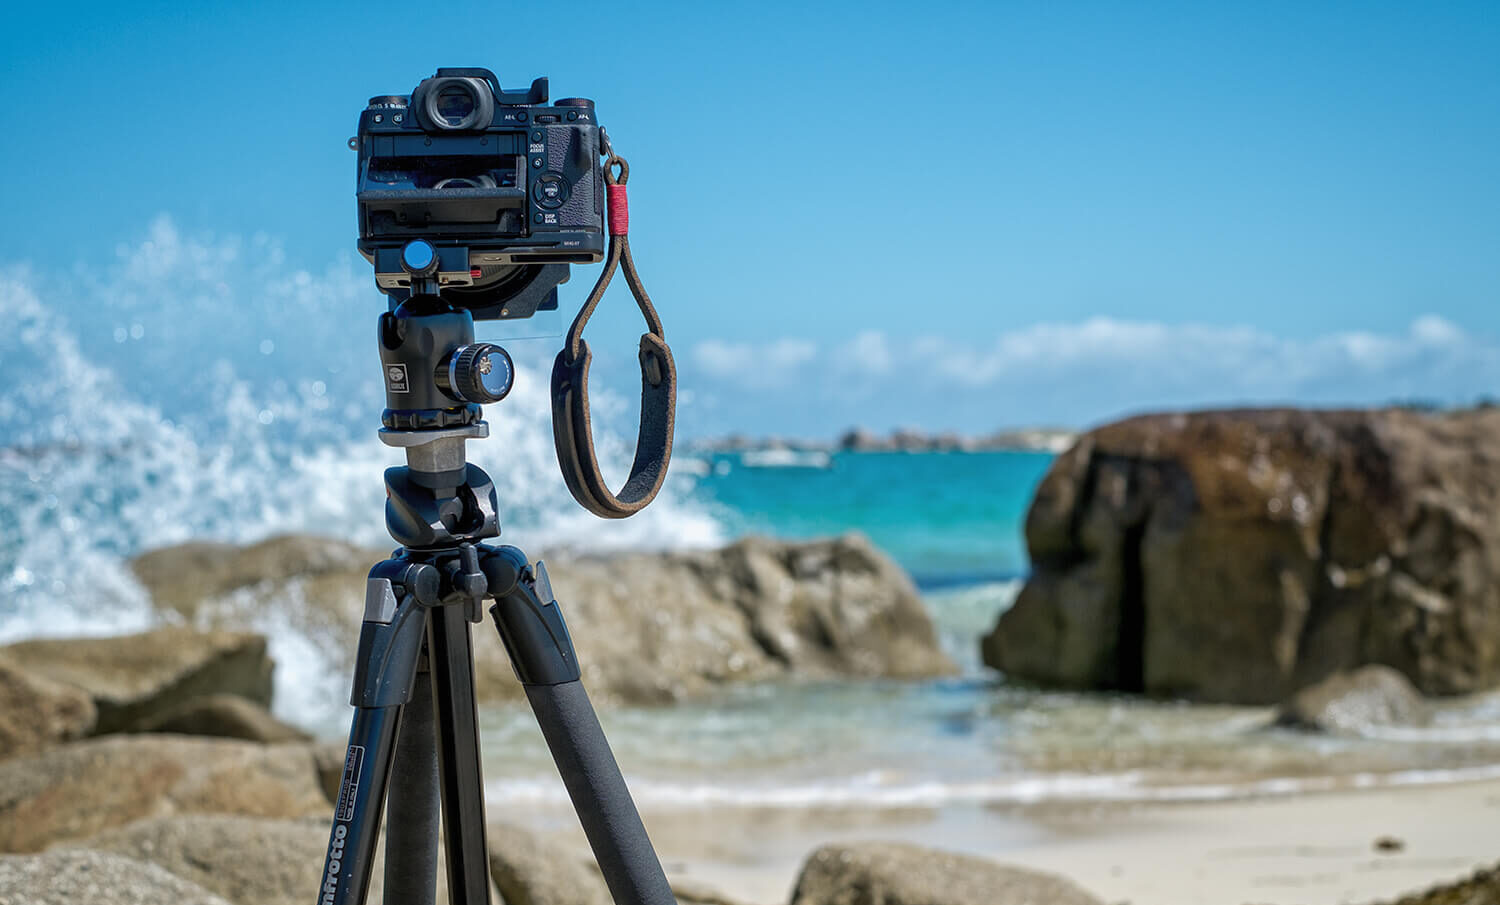
The quality of your time lapse photography depends heavily on your equipment setup. The most essential piece of gear is a sturdy tripod.
Even the slightest movement between frames can ruin the final sequence by introducing unwanted jitter. An intervalometer is another key tool. This device controls how frequently your camera takes photos.
While many modern cameras have built-in interval shooting features, external intervalometers often provide more flexibility for advanced time lapse photography setups. Battery life is a critical consideration.
Since time lapse sessions can last for hours, relying on a single battery is risky. Carrying spare batteries or using an external power source ensures uninterrupted shooting. Storage planning is equally important.
Time lapse photography generates hundreds or even thousands of images, especially when shooting in RAW format. High-capacity and fast memory cards are necessary to handle this volume without slowing down your workflow.
Additional accessories like ND filters can help control exposure in bright conditions, especially when you want to use slower shutter speeds for motion blur. Weather protection gear is also useful for outdoor shoots.
Preparing your gear properly ensures that your time lapse photography session runs smoothly and that you capture every frame without technical interruptions.
Shooting Scenarios: Clouds, Sunsets, City Motion, Crowds, And Star Trails
Different shooting scenarios require different approaches in time lapse photography. Understanding how to adapt your technique based on the subject is key to achieving professional results.
Cloud movement is one of the most popular subjects. It works best with moderate intervals, allowing you to capture smooth transitions across the sky. Sunsets and sunrises are more complex, as lighting conditions change rapidly.
Gradual exposure adjustments or advanced techniques like ramping may be needed. City motion, including traffic and crowds, benefits from shorter intervals.
This creates a fast-paced and energetic effect in the final video. Night scenes with light trails can add a dramatic touch to your time lapse photography.
Star trails require long exposures and careful planning. These sequences often involve stacking multiple long-exposure shots to create circular patterns in the sky.
Each scenario presents unique challenges, but mastering them expands your creative possibilities in time lapse photography. The key is to experiment and refine your approach based on the environment and subject movement.
Time Lapse Photography Settings: Interval, Shutter Speed, Aperture, And ISO Choices
Correct settings are the backbone of successful time lapse photography. Each parameter plays a role in maintaining visual consistency and achieving the desired motion effect.
The interval determines how often a photo is taken. Faster scenes require shorter intervals, while slower scenes need longer gaps between shots. Choosing the wrong interval can make motion appear too fast or too slow in your final video.
Shutter speed affects how motion is rendered. A slightly slower shutter speed introduces natural motion blur, which helps create smoother transitions in time lapse photography.
This is often referred to as the “cinematic look.” Aperture should be set based on depth of field requirements, but it must remain consistent throughout the shoot.
Changing aperture mid-sequence can cause flicker issues. Similarly, ISO should be kept as low as possible to reduce noise, especially in low-light conditions. Manual mode is essential.
Automatic exposure adjustments can lead to inconsistent brightness between frames, which is difficult to fix later. Locking your settings ensures that your time lapse photography sequence remains stable and visually appealing.
White balance should also be set manually to avoid color shifts. This is particularly important during scenes with changing light conditions, such as sunsets.
After The Shoot: Turning Frames Into Video, Color Grading, And Flicker Fixes
Post-production is where your time lapse photography truly comes to life. After capturing your images, the first step is importing them into editing software such as Lightroom, Premiere Pro, or similar tools.
The images are then sequenced into a video timeline, typically at 24 or 30 frames per second. This determines how smooth your final video appears. Adjusting playback speed allows you to control how time is compressed.
Color grading is an essential step. Enhancing contrast, adjusting highlights and shadows, and fine-tuning colors can significantly improve the visual impact of your time lapse photography.
Flicker is a common issue caused by slight exposure variations between frames. Specialized tools and plugins can help correct this problem, ensuring a smooth final result.
Stabilization may also be applied if minor camera movement occurred during shooting. Finally, exporting the video in the correct format and resolution ensures that your work is ready for sharing on platforms like social media or professional portfolios.
By refining your post-production workflow, you can elevate your time lapse photography from simple sequences to polished, cinematic content.
See you in the next post,
Anil UZUN