How to set up studio lighting is one of the most important skills a photographer can learn if the goal is to create consistent, professional-looking images.
Studio lighting is not only about making a scene brighter; it is about shaping light, controlling shadows, guiding the viewer’s eye, and building mood. When lighting is planned and executed correctly, even a simple subject can look polished and intentional.
Many photographers assume that studio lighting requires expensive equipment and a large space, but this is a common misconception. Understanding how to set up studio lighting is far more about learning light behavior than owning high-end gear.
With a small room, a single light, and a few basic modifiers, it is possible to achieve results that rival professional studios.
This guide explains how to set up studio lighting step by step, starting with essential gear, moving into one-light setups, then expanding into two- and three-light arrangements.
You will also learn how to use softboxes, umbrellas, and reflectors effectively, and how to troubleshoot common lighting problems such as harsh shadows, glare, and color temperature issues.
Studio Lighting Basics: The Gear You Actually Need To Get Started
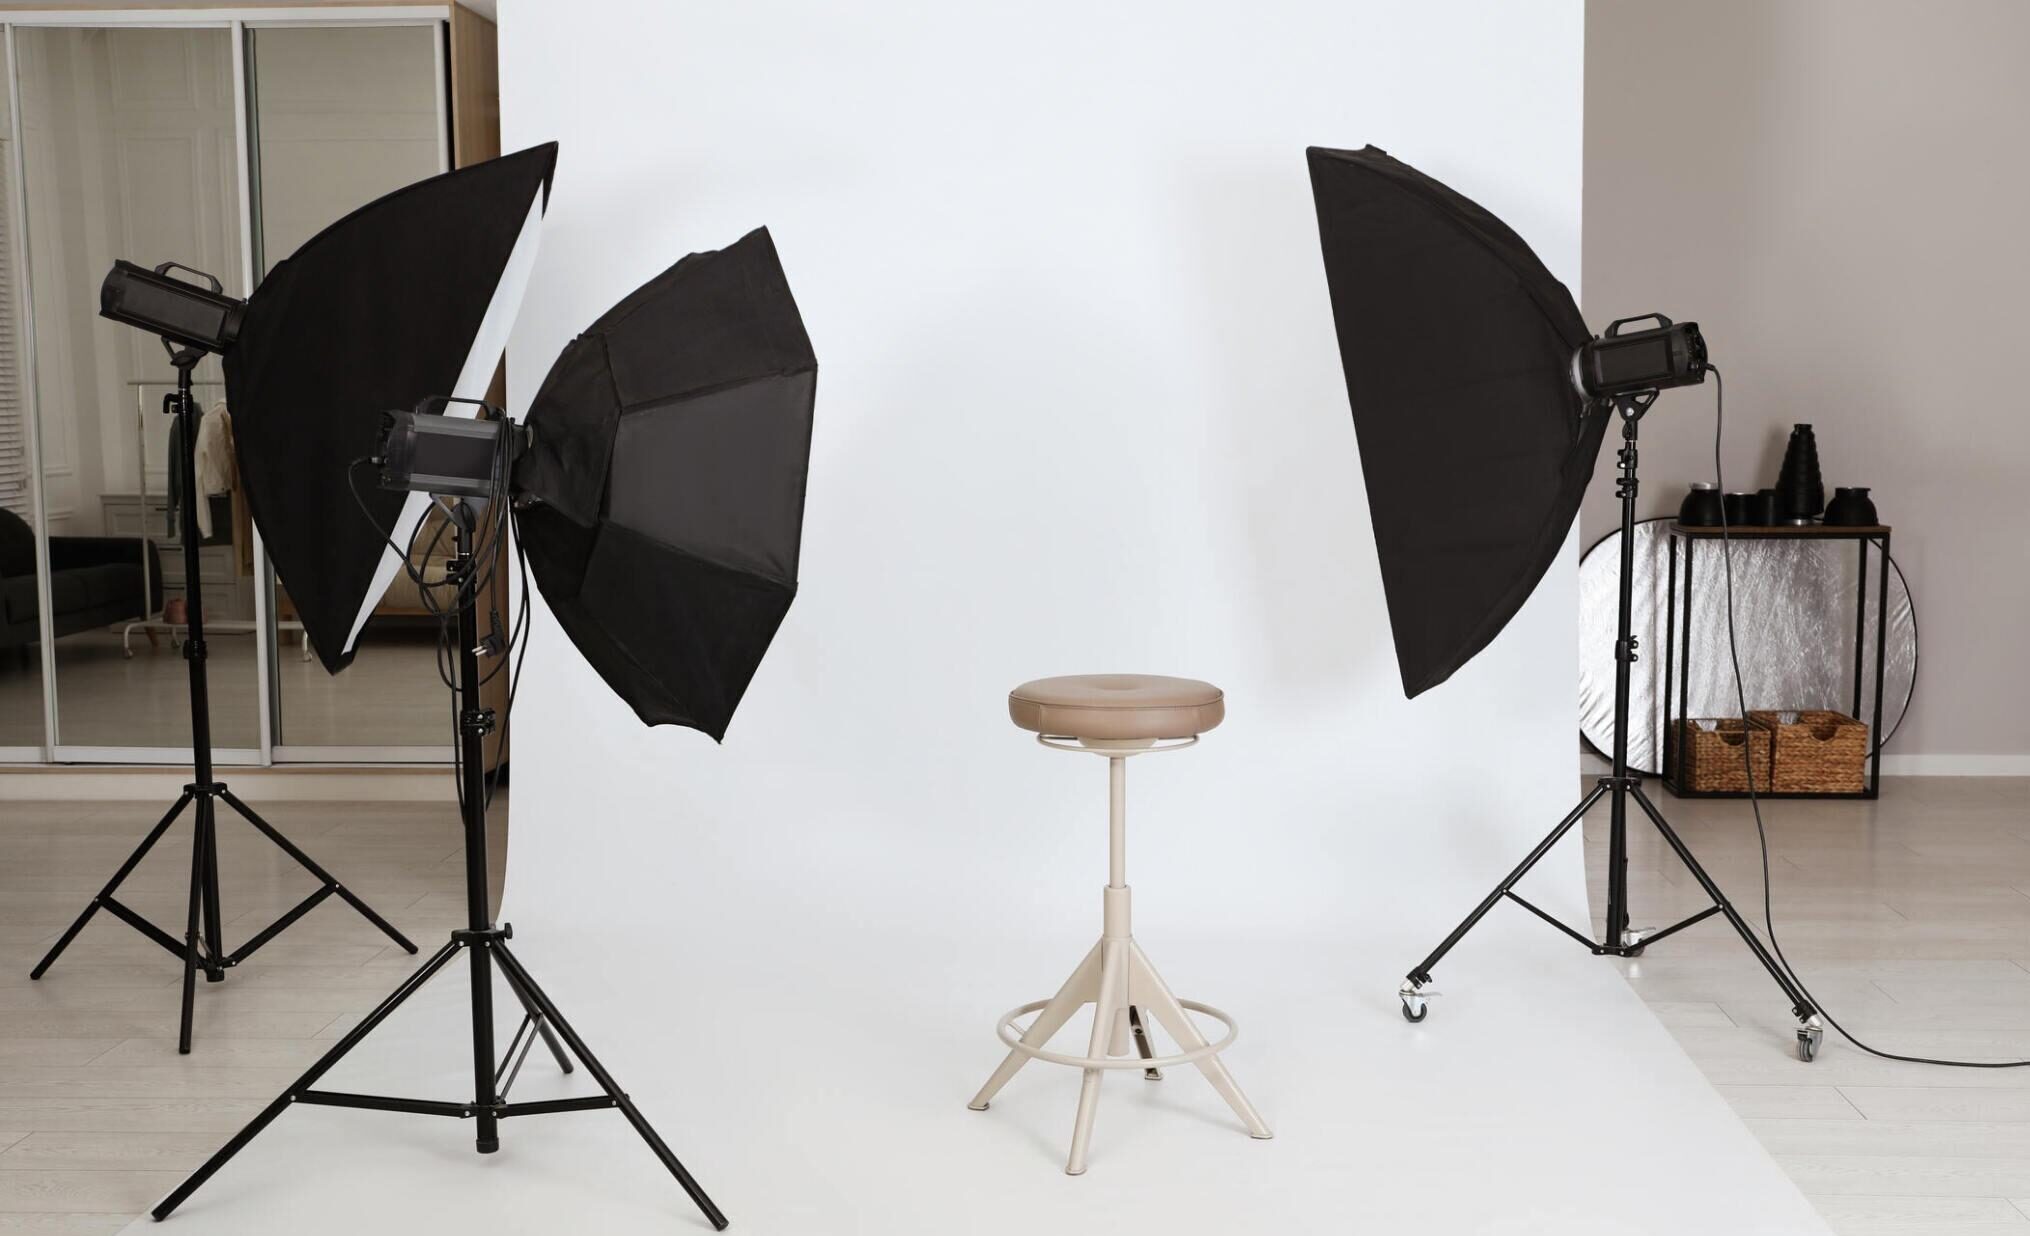
Before learning advanced techniques, it is important to understand the basic tools involved in how to set up studio lighting. Studio lighting gear can be divided into three main categories: light sources, light modifiers, and support equipment.
Each plays a specific role in shaping the final image. Light sources include studio strobes and continuous lights. Studio strobes produce a powerful burst of light and are ideal for freezing motion and keeping ISO levels low.
Continuous lights, usually LED-based, allow you to see the light exactly as it falls on the subject, which can be helpful for beginners and for hybrid photo-video work.
Both options are suitable when learning how to set up studio lighting, and the choice depends on shooting style rather than image quality alone.
Light modifiers control the quality of light. Softboxes spread light evenly and soften shadows, making them ideal for portraits and product photography.
Umbrellas create a wider, less controlled spread of light and are quick to set up, which is useful in small spaces. Reflectors bounce light back into shadow areas and help balance contrast without adding another powered light.
These tools are essential for understanding how to set up studio lighting with precision. Support equipment includes light stands, boom arms, clamps, and sandbags. Stable positioning is critical, especially when using large modifiers.
A poorly secured light stand can easily tip over, damaging equipment and interrupting the shoot. Reliable support gear ensures safety and consistency, which are key principles when mastering how to set up studio lighting.
How To Set Up Studio Lighting For A Clean One Light Portrait Setup
A one-light setup is the best starting point for learning how to set up studio lighting. Working with a single light forces you to observe how light direction, height, distance, and modifiers affect the subject.
This approach builds strong fundamentals that carry over into more complex setups. To begin, place the light source at a 45-degree angle to the subject and slightly above eye level.
This angle creates natural-looking shadows that define facial features without being overly dramatic. A softbox works well here, as it produces smooth transitions between highlights and shadows.
Adjusting the distance between the light and the subject allows you to control contrast; closer light creates softer shadows, while moving it farther away increases contrast.
When learning how to set up studio lighting with one light, reflectors become extremely useful. Positioning a white or silver reflector opposite the light source fills in shadows and balances the image.
This simple addition can dramatically improve portrait quality without introducing a second powered light. Background control is another important factor.
Increasing the distance between the subject and the background prevents harsh shadows from appearing behind the subject. This technique is especially valuable in small studios where space is limited.
Mastering these details with a one-light setup creates a solid foundation for understanding how to set up studio lighting effectively.
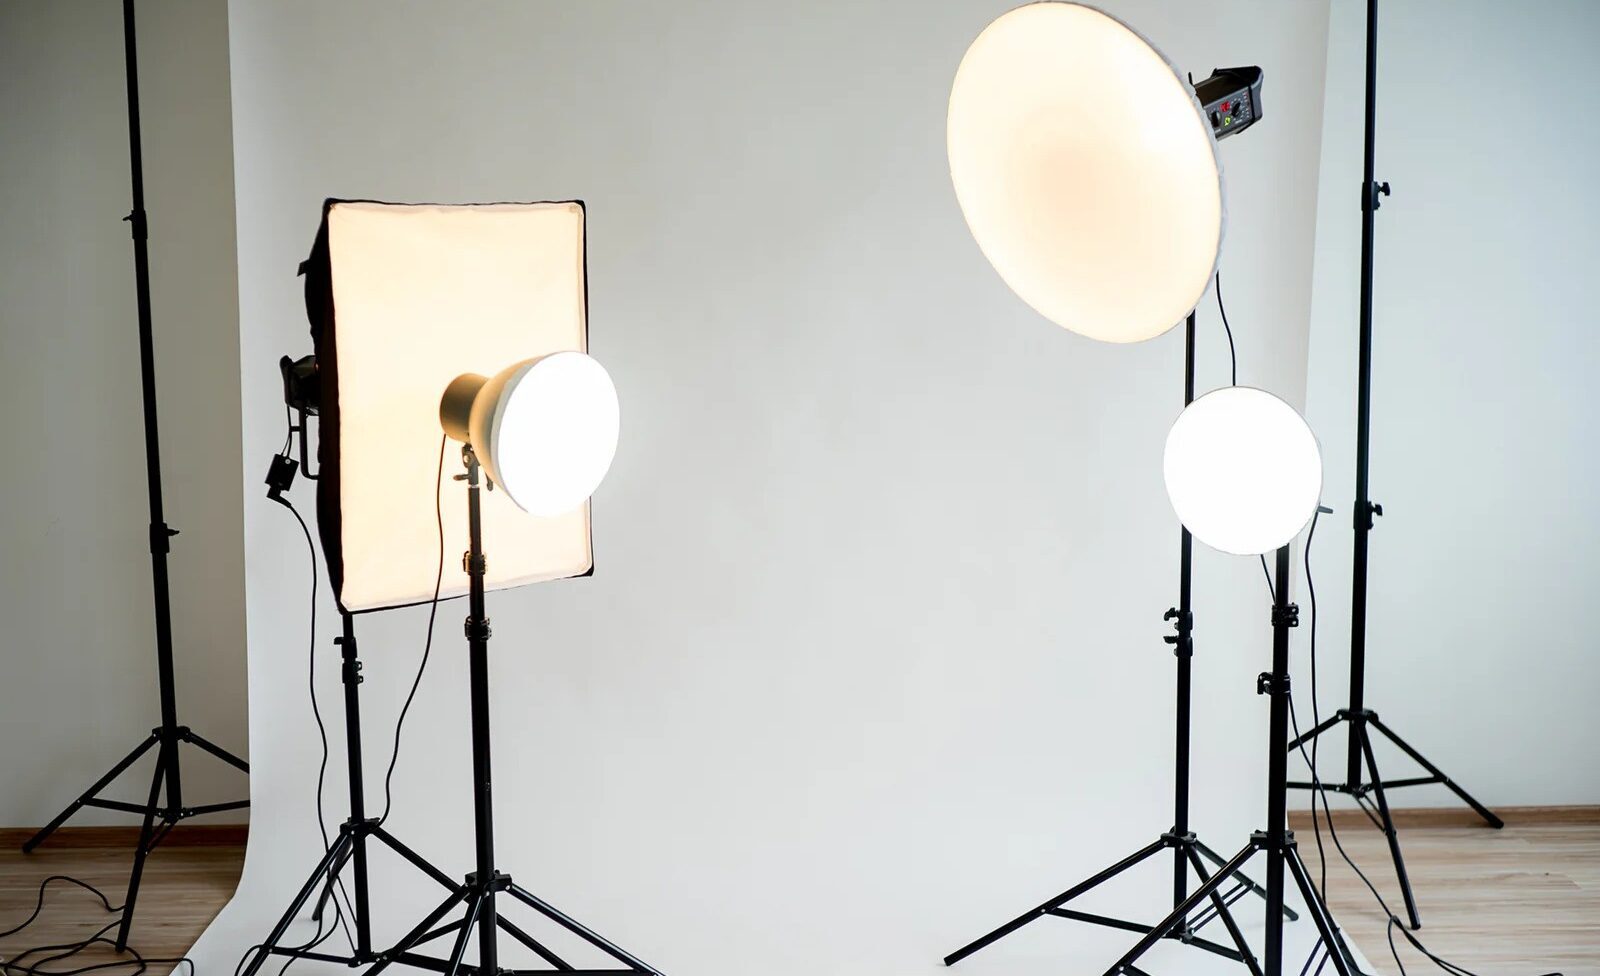
Two Light And Three Light Setups: Key, Fill, And Rim Light Explained
Once the basics are understood, expanding into two- and three-light setups allows for greater creative control.
These setups are commonly used in professional portrait, fashion, and commercial photography and are a core part of learning how to set up studio lighting at an advanced level.
In a two-light setup, the key light remains the primary source of illumination. The second light, known as the fill light, is placed on the opposite side at a lower intensity. Its purpose is to soften shadows created by the key light without eliminating them entirely.
This balance maintains depth while keeping the image clean and polished. A three-light setup adds a rim light, sometimes called a hair light. This light is positioned behind the subject and aimed at the edges of the face, shoulders, or hair.
The rim light separates the subject from the background and adds visual depth. When used correctly, it enhances the subject’s outline without drawing attention away from the face.
Understanding the relationship between key, fill, and rim lights is central to mastering how to set up studio lighting. Each light should have a clear purpose. Adding lights without intention often leads to flat or confusing results.
Controlled, purposeful lighting creates images that look professional and consistent across different sessions.
How To Set Up Studio Lighting With Softboxes, Umbrellas, And Reflectors
Modifiers play a crucial role in determining the character of light. Learning how to set up studio lighting means knowing when and how to use each modifier effectively.
Softboxes are ideal for controlled lighting. They limit light spill and create a directional, soft source that works well for portraits and product photography. Larger softboxes produce softer light, while smaller ones increase contrast.
Choosing the right size depends on the subject and the available space. Umbrellas are more forgiving and spread light broadly. They are useful for group shots or when quick setup is needed.
However, they offer less control and may cause light to bounce onto unwanted areas, especially in small rooms. Reflectors help fine-tune lighting by filling shadows and adding brightness without increasing exposure.
Combining these tools thoughtfully is an essential part of how to set up studio lighting. For example, a softbox as the key light and a reflector as fill can produce a natural, balanced look that works across many photography styles.
Troubleshooting Common Problems: Harsh Shadows, Glare, And Color Temperature
Even with proper planning, issues can arise. Knowing how to diagnose and fix problems is a critical skill when learning how to set up studio lighting. Harsh shadows usually result from a light source that is too small or too close to the subject.
Increasing the size of the modifier or adjusting the light angle softens shadows. Adding a reflector can further reduce contrast without flattening the image. Glare and unwanted reflections often appear on shiny surfaces, glasses, or skin.
Small adjustments in light position usually resolve this issue. Moving the light slightly higher or farther to the side can eliminate reflections while preserving the desired lighting effect.
Color temperature inconsistencies occur when mixing different light sources. Ensuring all lights share the same color temperature and setting a manual white balance on the camera helps maintain accurate colors.
Consistent color management is an essential aspect of how to set up studio lighting for professional results.
See you in the next post,
Anil UZUN