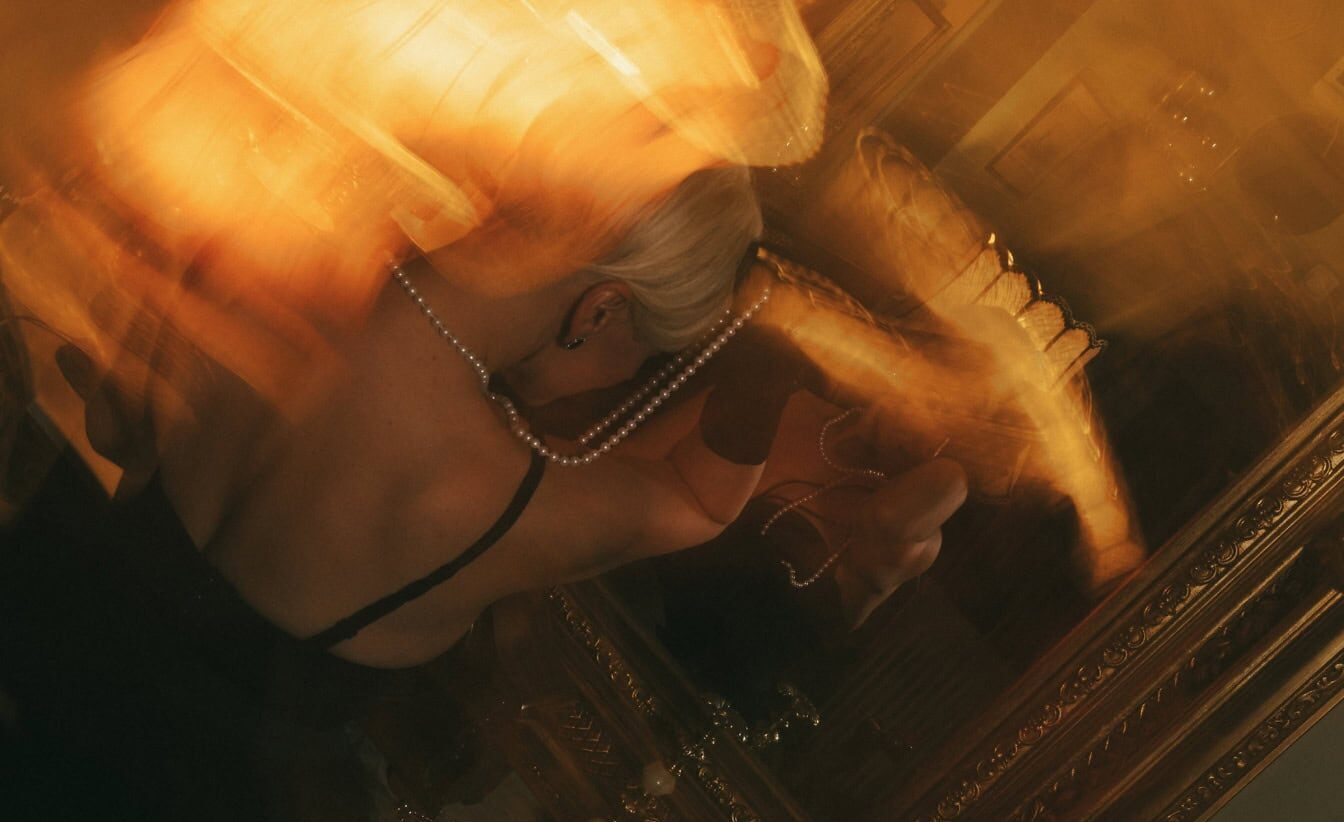
Motion blur in photography is one of the most powerful creative tools photographers can use to bring life into a still image.
While many beginners try to avoid blur at all costs, experienced photographers understand that when used intentionally, it can add emotion, movement, and storytelling depth.
Instead of freezing a moment, motion blur in photography allows you to show how that moment unfolds over time. This technique works by capturing movement within the frame during the exposure.
Whether it is a moving subject, a flowing element like water, or even camera movement, blur can transform an otherwise static scene into something dynamic.
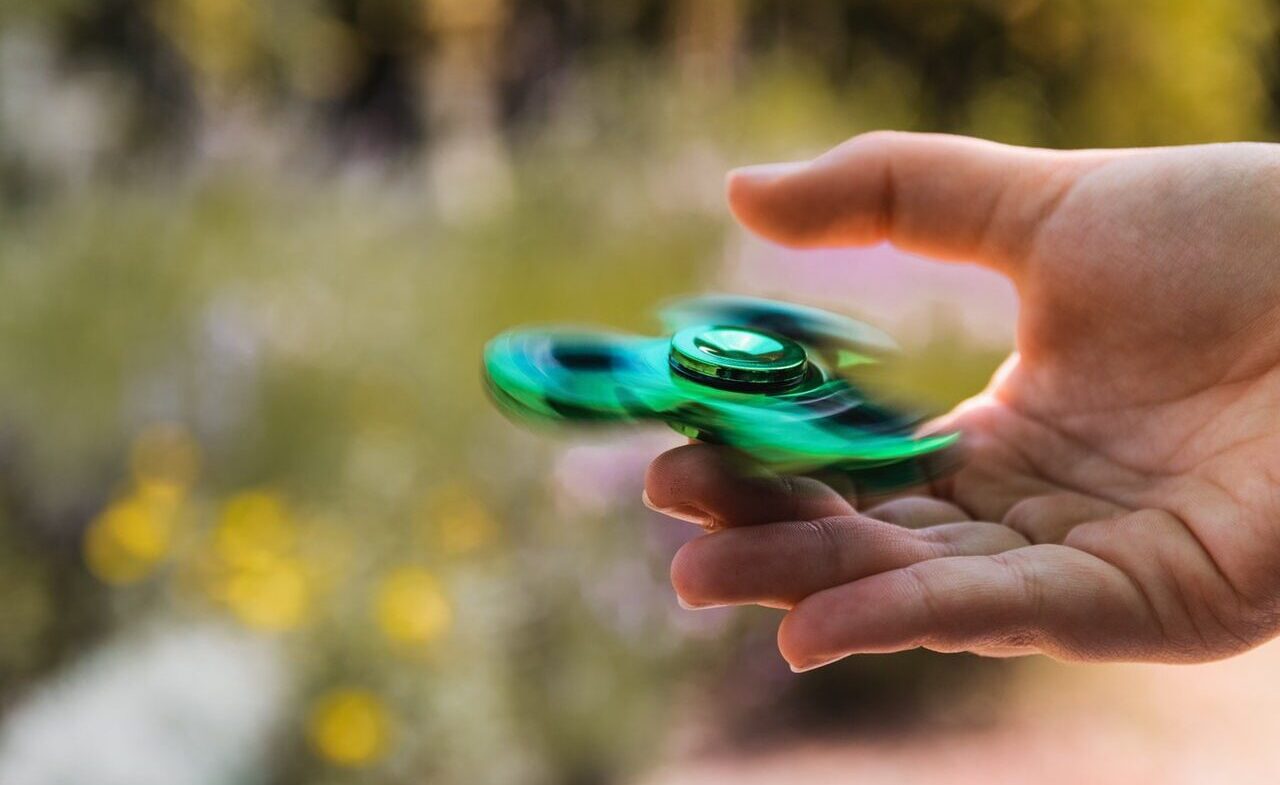
When applied correctly, motion blur in photography can guide the viewer’s eye and create a stronger visual impact. One of the key benefits of using this technique is its versatility.
It can be applied in street photography, sports, landscapes, and even abstract compositions. From soft, flowing waterfalls to fast-moving city lights, motion blur in photography offers endless creative possibilities.
However, achieving the desired effect requires understanding both technical settings and artistic intent. Shutter speed, lighting conditions, and subject movement all play a role. Without proper control, blur can quickly turn into a mistake instead of a creative choice.
By learning how to balance these elements, you can turn motion blur into a signature style rather than an accidental outcome.
What Motion Blur In Photography Means: Control, Timing, And Creative Intent
At its core, motion blur in photography is the visual representation of movement captured over time. It happens when either the subject or the camera moves while the shutter is open. However, the key difference between a mistake and a strong image lies in control.
Control means deciding what should be blurred and what should remain sharp. In many cases, photographers aim to keep the main subject partially or fully sharp while allowing the background or surrounding elements to blur.
This selective use of blur creates contrast and emphasizes motion. This is where motion blur in photography becomes a storytelling tool rather than a technical flaw.
Timing is equally important. The moment you press the shutter determines how movement is recorded. A fraction of a second too early or too late can change the entire result.
For example, capturing a runner mid-stride with slight blur can communicate speed and effort. Understanding timing allows motion blur in photography to feel intentional and expressive.
Creative intent ties everything together. Before taking the shot, you should ask yourself what kind of feeling you want to convey. Do you want energy, calmness, chaos, or smoothness?
The answer will guide how much blur you use and where it appears in the frame. By combining control, timing, and intention, photographers can turn blur into a deliberate artistic decision that enhances the overall image.
How To Choose The Right Shutter Speed For Different Types Of Motion
Shutter speed is the most important setting when working with motion blur in photography. It determines how long the camera sensor is exposed to light and, therefore, how much movement is captured.
Fast shutter speeds such as 1/500 or 1/1000 freeze motion completely. These are useful when you want sharp images of fast-moving subjects. However, to create motion blur in photography, you need to slow down the shutter speed.
Moderate shutter speeds like 1/30 or 1/15 seconds are often used to introduce slight blur while keeping some detail. These are ideal for subjects like people walking or cars moving at a moderate pace.
Slower speeds, such as 1 second or longer, create more pronounced blur and are commonly used for waterfalls, rivers, or light trails. Choosing the right shutter speed depends on the speed of your subject and the effect you want to achieve.
A fast-moving subject may require a slightly faster shutter speed to avoid excessive blur, while a slow-moving subject may need a longer exposure to make the motion visible. Lighting also plays a role.
In bright conditions, slower shutter speeds can lead to overexposure. To maintain proper exposure while using motion blur in photography, you may need to adjust aperture, lower ISO, or use a neutral density filter.
Experimentation is key. Testing different shutter speeds in the same scene will help you understand how motion is recorded and allow you to refine your results.
Motion Blur In Photography With Panning, Long Exposure, And Camera Movement
There are several techniques to achieve motion blur in photography, each producing a unique visual effect. Understanding these methods allows you to expand your creative approach.
Panning is one of the most popular techniques. It involves following a moving subject with your camera while taking the shot. The result is a relatively sharp subject against a blurred background.
This technique works well for sports, vehicles, and wildlife. When done correctly, motion blur in photography through panning creates a strong sense of speed. Long exposure is another widely used method.
In this case, the camera remains still while the shutter stays open for an extended period. Moving elements such as water, clouds, or lights become smooth and continuous.
This technique is commonly used in landscape and night photography. It transforms ordinary scenes into visually striking images. Camera movement, sometimes called intentional camera movement, is a more experimental approach.
Here, the photographer moves the camera during the exposure to create abstract patterns and textures. This method pushes motion blur in photography into a more artistic and interpretive direction. Each technique requires practice and precision.
Using a tripod can help stabilize the camera for long exposures, while steady hand movement is essential for panning. By mastering these techniques, you can create a wide range of visual effects using motion blur.
How To Manage Composition And Light When Using Blur Artistically
Technical settings alone are not enough to create a strong image. Composition and lighting are equally important when using motion blur in photography. Composition determines how the viewer interprets the scene.
Even with blur, there should be a clear subject or focal point. Without it, the image can feel confusing. Placing the subject strategically within the frame helps maintain balance and clarity while still using motion creatively.
Leading lines, symmetry, and negative space can enhance the effect of blur. For example, blurred light trails can guide the viewer’s eye through the frame. In this way, motion blur in photography becomes part of the composition rather than just an effect.
Lighting plays a crucial role as well. Low light conditions are often ideal for motion blur because they allow longer shutter speeds without overexposure. Early morning, evening, or nighttime are perfect times to experiment. The direction of light also matters.
Side lighting can emphasize motion and texture, while backlighting can create dramatic silhouettes and glowing effects. Managing light effectively ensures that motion blur in photography enhances the image instead of overpowering it.
By combining thoughtful composition with controlled lighting, you can achieve a balanced and visually compelling result.
Motion Blur In Photography Mistakes: Too Much Blur, Lost Focus, And Weak Balance
While motion blur in photography can be highly effective, it is easy to misuse if you are not careful.
One of the most common mistakes is using too much blur. When everything in the frame is blurred, the viewer loses a clear point of focus, making the image difficult to understand.
Another common issue is lost focus. Even when using blur intentionally, there should be at least one element that provides structure or reference. Without this, the image can feel chaotic rather than artistic.
Maintaining a balance between sharpness and blur is essential in motion blur in photography. Incorrect shutter speed selection can also lead to poor results. If the shutter is too slow, the subject may become unrecognizable.
If it is too fast, the blur effect may not be visible at all. Finding the right balance requires practice and experimentation.
Camera shake is another problem. When unintended, it can reduce image quality. Using a tripod or stabilizing your position helps maintain control, especially in long exposure shots.
Finally, ignoring composition and lighting can weaken the overall impact. Even the best blur technique cannot compensate for poor framing or bad lighting. To succeed with motion blur in photography, all elements must work together.
By recognizing and avoiding these mistakes, you can use motion blur more effectively and consistently produce strong, engaging images.
See you in the next post,
Anil UZUN