HDR photography (High Dynamic Range) is a powerful technique that enhances details in both shadows and highlights, allowing photographers to capture scenes with a broader range of light and color.
Unlike standard photography, which often struggles with extreme contrasts, HDR photography blends multiple exposures to create a more balanced and visually striking image.
This guide will cover the fundamentals of HDR photography, including the best camera settings, how to use HDR in different lighting conditions, post-processing techniques, and common mistakes to avoid.
Whether you’re a beginner or an experienced photographer, mastering HDR photography will take your images to the next level.
HDR Photography: What It Is And How It Works
HDR photography is a technique that combines multiple images with different exposure levels to create a single photo with enhanced detail. This process helps retain information in both the brightest and darkest areas of a scene.
How HDR Photography Works:
- Bracketing (Exposure Stacking) – The camera captures multiple images at different exposure levels: one underexposed, one correctly exposed, and one overexposed.
- Merging Images – HDR software blends these exposures to create a single image that preserves details across the entire dynamic range.
- Tone Mapping and Editing – Adjustments are applied to balance colors, contrast, and sharpness while ensuring a natural look.
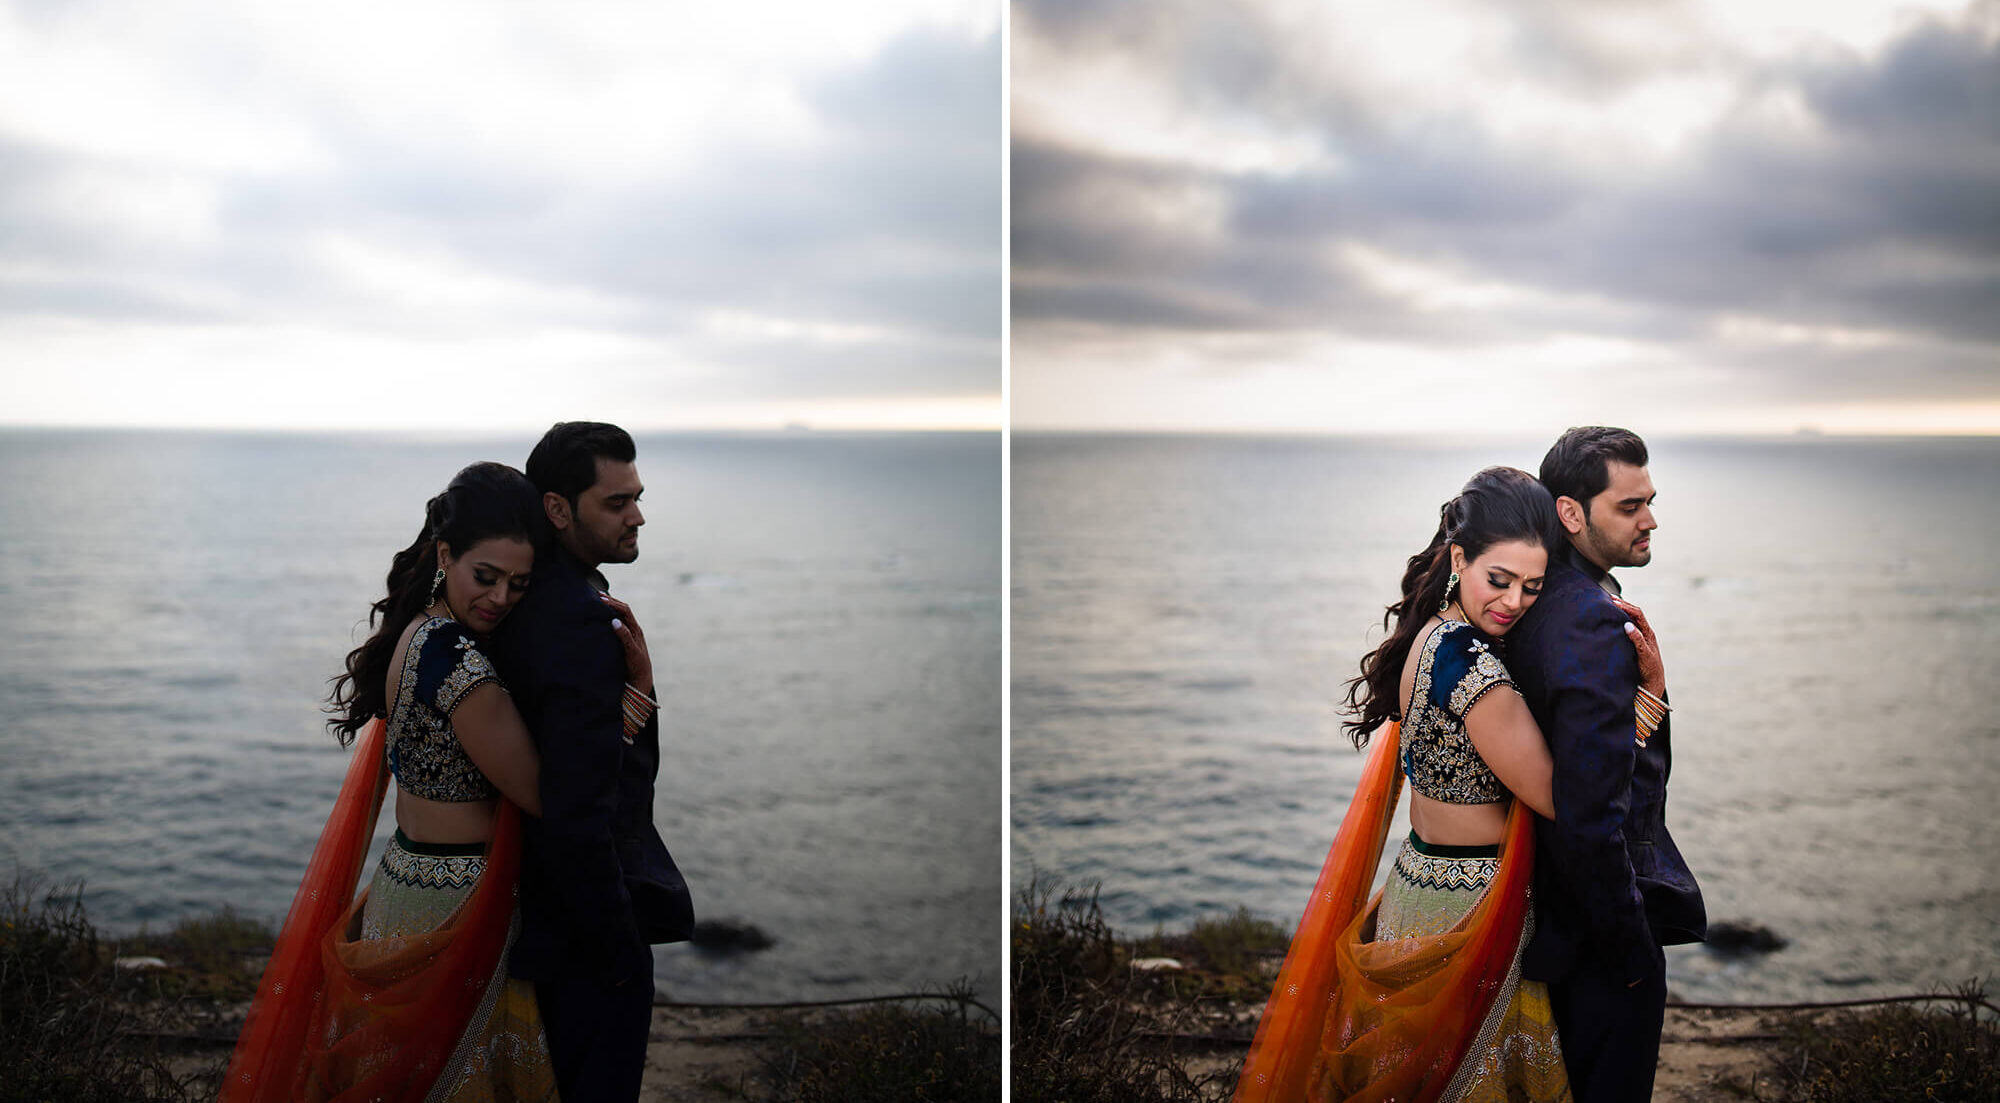
HDR is particularly useful in landscape photography, architecture, and interior shots, where lighting variations are often challenging to manage.
Best Camera Settings For Capturing Stunning HDR Photos
To achieve high-quality HDR photography, proper camera settings are crucial. Here’s what you need to optimize your HDR shots:
1. Use Auto Exposure Bracketing (AEB)
- Set your camera to Auto Exposure Bracketing (AEB) mode to capture at least three images at different exposure levels (-2, 0, +2 EV).
- Some cameras allow five or seven brackets for even greater dynamic range.
2. Shoot in RAW Format
- RAW files retain more image data, allowing better flexibility during post-processing.
- Avoid shooting in JPEG, as it compresses image data and reduces editing control.
3. Keep ISO Low
- Use ISO 100 or 200 to minimize noise and retain sharpness.
- Higher ISO values may introduce unwanted grain in HDR images.
4. Use Aperture Priority Mode (A or Av)
- Set your camera to Aperture Priority (A/Av) mode to maintain consistent depth of field across exposures.
- A range of f/8 to f/11 is ideal for landscape and architectural HDR shots.
5. Use a Tripod for Stability
- HDR photography requires multiple exposures, and any camera movement can cause ghosting.
- A sturdy tripod ensures sharp images and perfect alignment.
With these settings, you’ll be able to capture stunning HDR images with greater clarity and dynamic range.
How To Use HDR Photography In Different Lighting Conditions
HDR photography excels in environments where the contrast between light and shadow is extreme. Here’s how to use it in various lighting conditions:
1. Golden Hour & Sunset HDR Photography
- Challenge: The sun’s brightness contrasts sharply with darker foregrounds.
- Solution: Capture bracketed exposures (-2, 0, +2 EV) and merge them to preserve both the sky’s colors and the foreground’s details.
2. High-Contrast Landscape Photography
- Challenge: Bright skies and dark landscapes create exposure issues.
- Solution: Use HDR to balance exposure, ensuring details in both shadows and highlights remain intact.
3. Interior Photography (With Windows)
- Challenge: Rooms often appear too dark while windows are overexposed.
- Solution: HDR allows you to expose both interior details and outdoor views evenly.
4. Night HDR Photography
- Challenge: Harsh artificial lights and deep shadows can cause extreme contrast.
- Solution: Reduce exposure gaps between bracketed shots (e.g., -1, 0, +1 EV) to avoid over-processing.
Using HDR photography in various lighting conditions ensures well-balanced images that retain both highlight and shadow details.
Editing Techniques To Enhance Your HDR Images
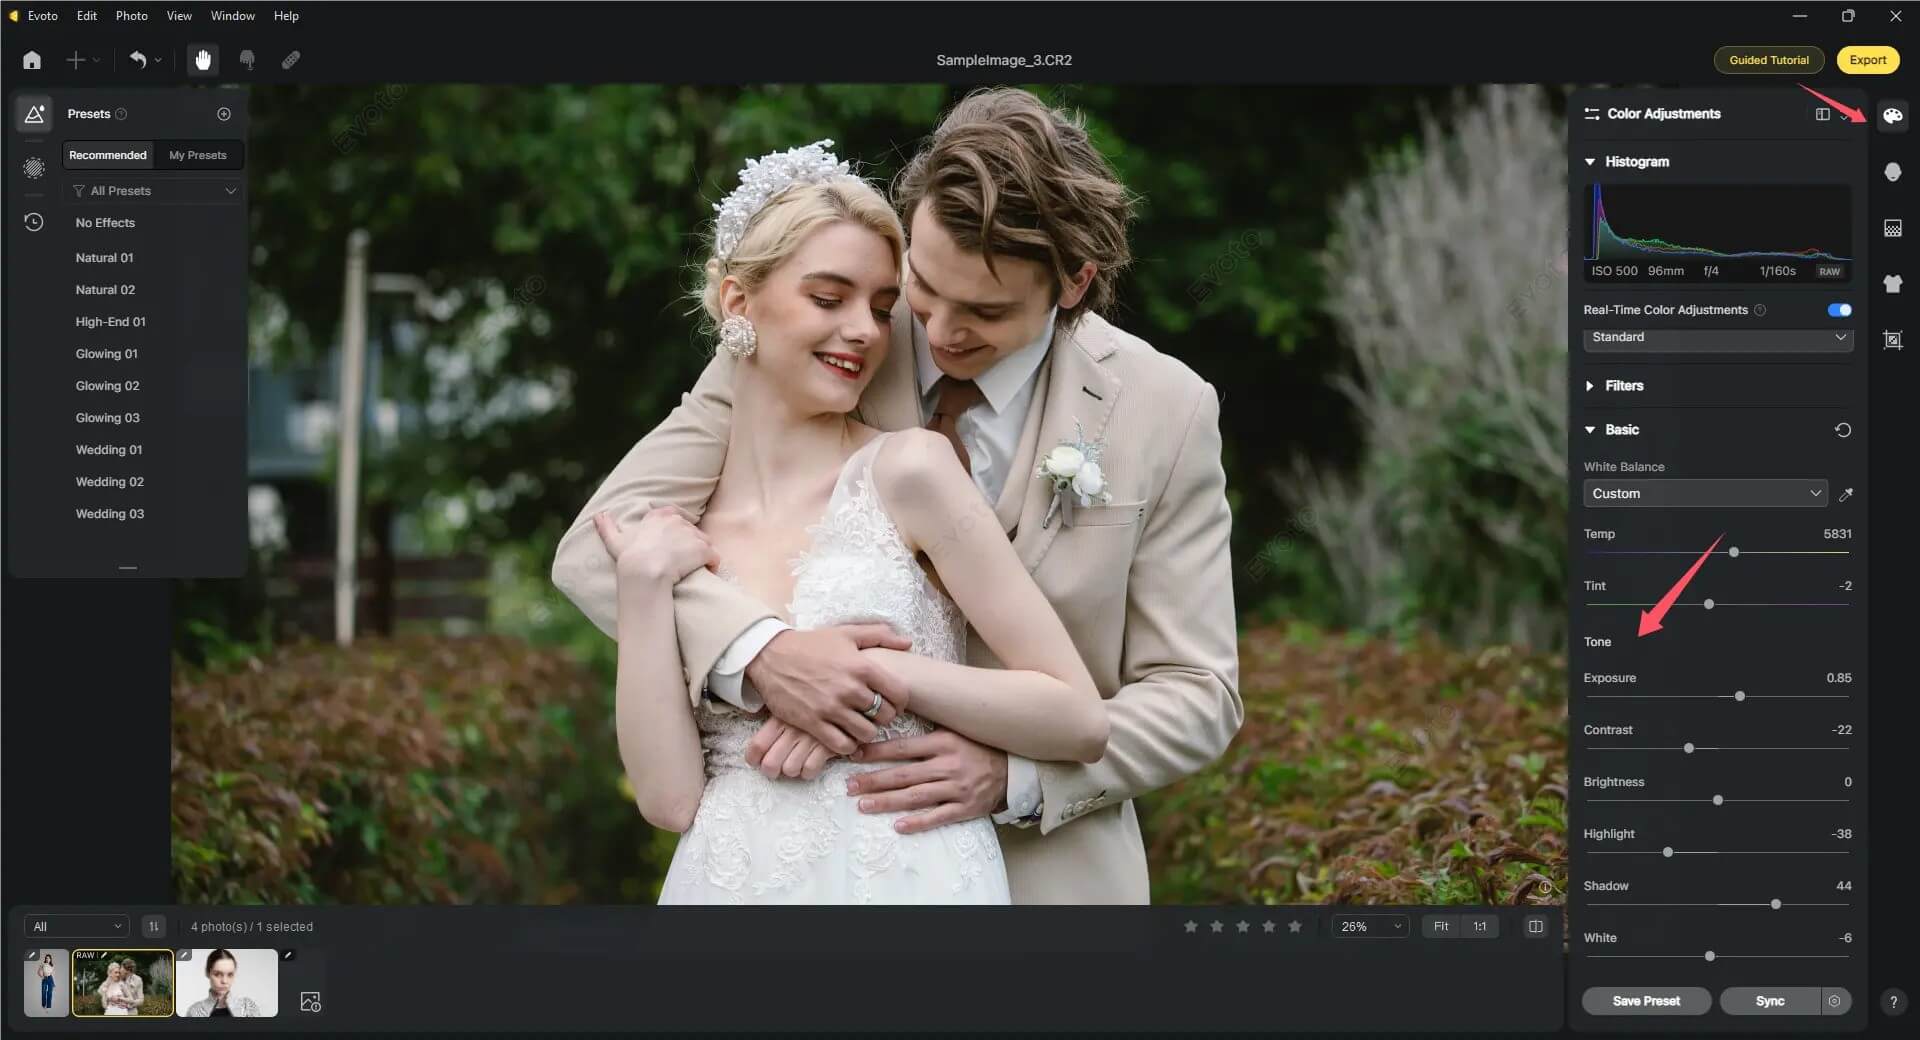
Post-processing plays a crucial role in making HDR photography look natural and visually appealing. Here are some essential HDR editing techniques:
1. Merge HDR Images Carefully
- Use Adobe Lightroom, Photoshop, or HDR-specific software (like Aurora HDR) to combine bracketed exposures.
- Avoid excessive HDR effects that create unnatural halos and oversaturated colors.
2. Adjust Tone Mapping
- Control brightness and contrast without over-processing the image.
- Use subtle adjustments to keep the photo realistic yet vibrant.
3. Enhance Sharpness and Clarity
- Apply moderate sharpening to bring out fine details.
- Use the Clarity slider in Lightroom to enhance mid-tone contrast.
4. Reduce Noise and Ghosting
- HDR merging can introduce noise, especially in shadows. Use noise reduction tools in post-processing.
- Ghosting occurs when moving elements (like trees or clouds) shift between exposures. Use software ghost reduction tools to fix this issue.
By following these editing techniques, you can make your HDR images look professional and well-balanced without appearing artificial.
Common Mistakes To Avoid When Shooting HDR Photography
Even experienced photographers can make mistakes in HDR photography. Here are some common errors and how to avoid them:
1. Overprocessing the Image
- Mistake: Excessive HDR effects make the image look unnatural with exaggerated contrast and colors.
- Fix: Use subtle adjustments and tone mapping to maintain realism.
2. Using Too Many Brackets
- Mistake: Capturing too many exposure brackets can complicate editing and increase ghosting.
- Fix: Stick to three to five brackets for most scenes.
3. Not Using a Tripod
- Mistake: Handheld HDR shots can lead to alignment issues and blurriness.
- Fix: Always use a tripod and a remote shutter release for stability.
4. Shooting HDR in the Wrong Situations
- Mistake: Using HDR for low-contrast scenes can result in flat, washed-out images.
- Fix: Only use HDR when there’s a significant difference between highlights and shadows.
5. Ignoring Noise Reduction
- Mistake: HDR images with high ISO settings can introduce grain and noise.
- Fix: Apply moderate noise reduction while preserving image details.
By avoiding these mistakes, you can master HDR photography and create stunning, high-quality images.
See you in the next post,
Anil UZUN