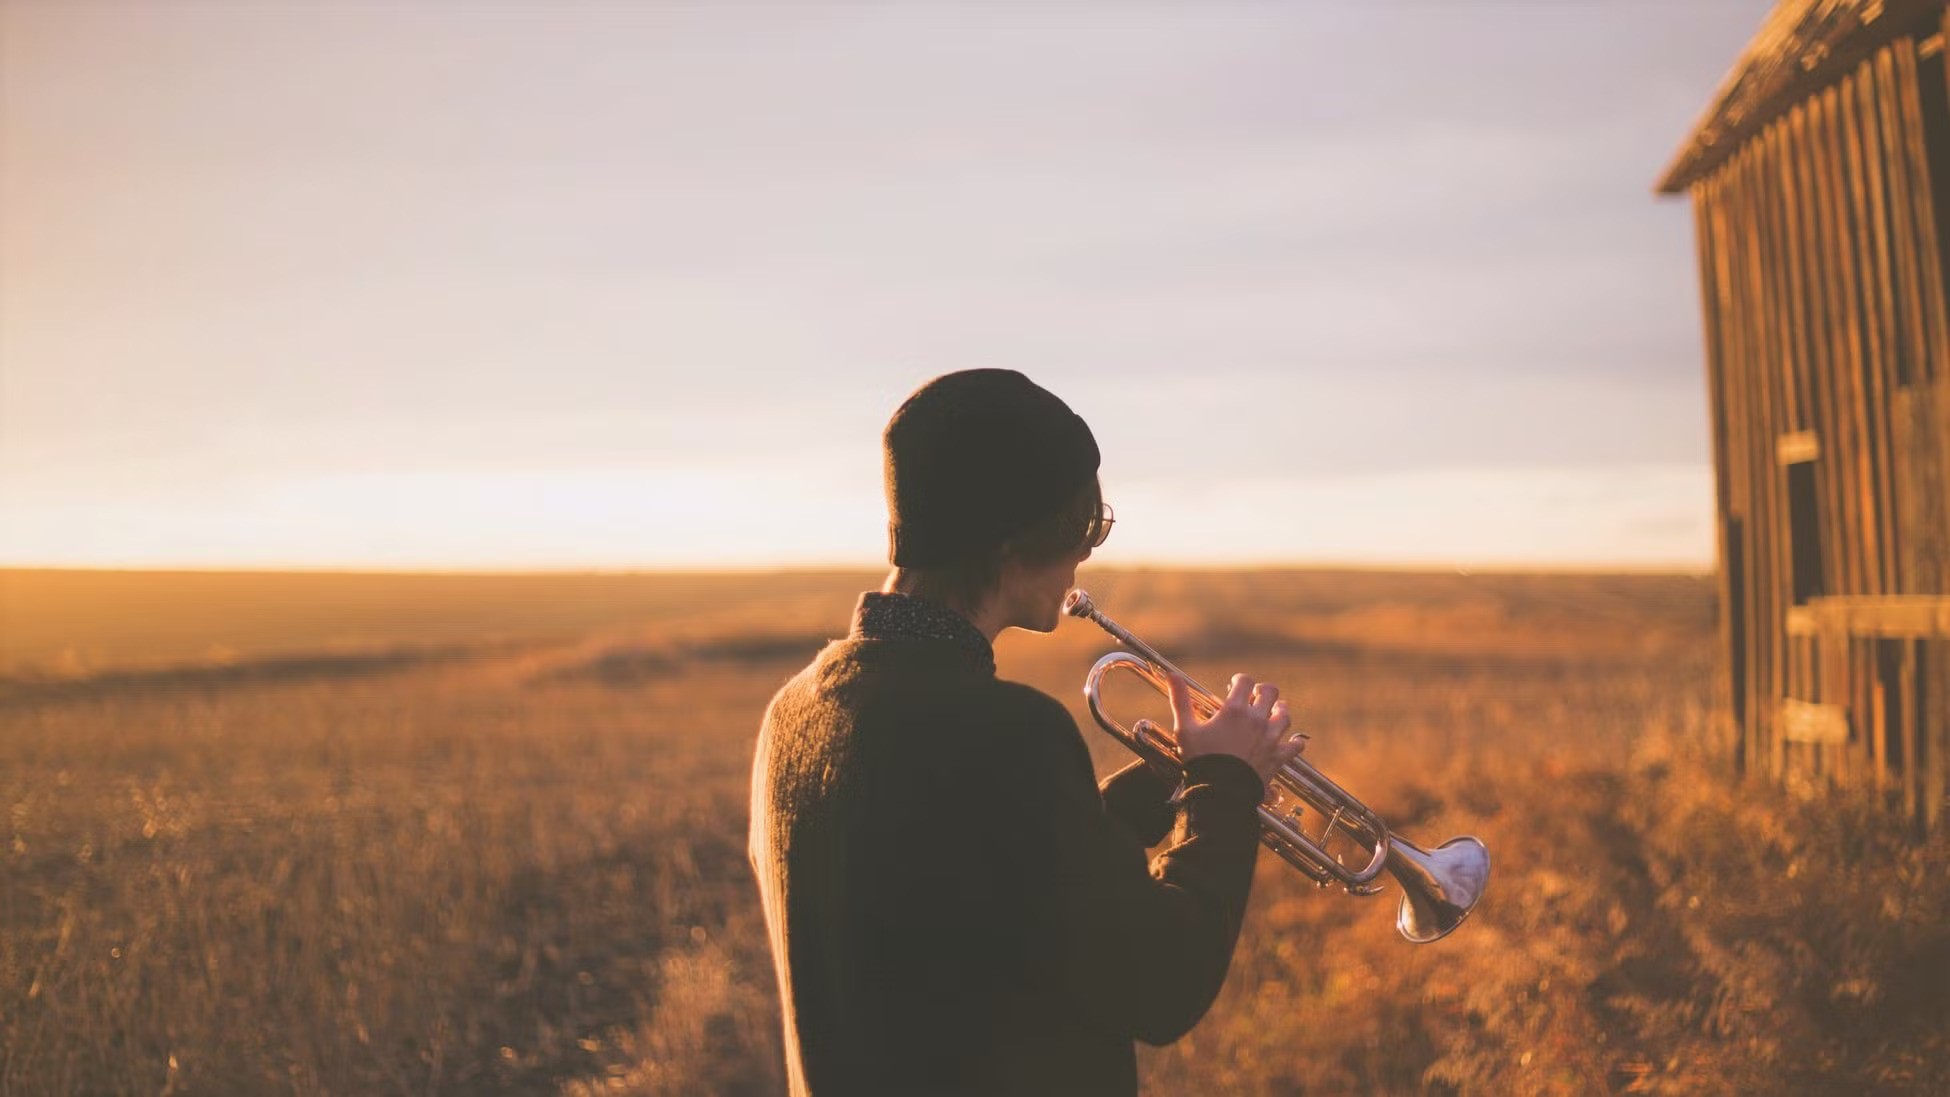
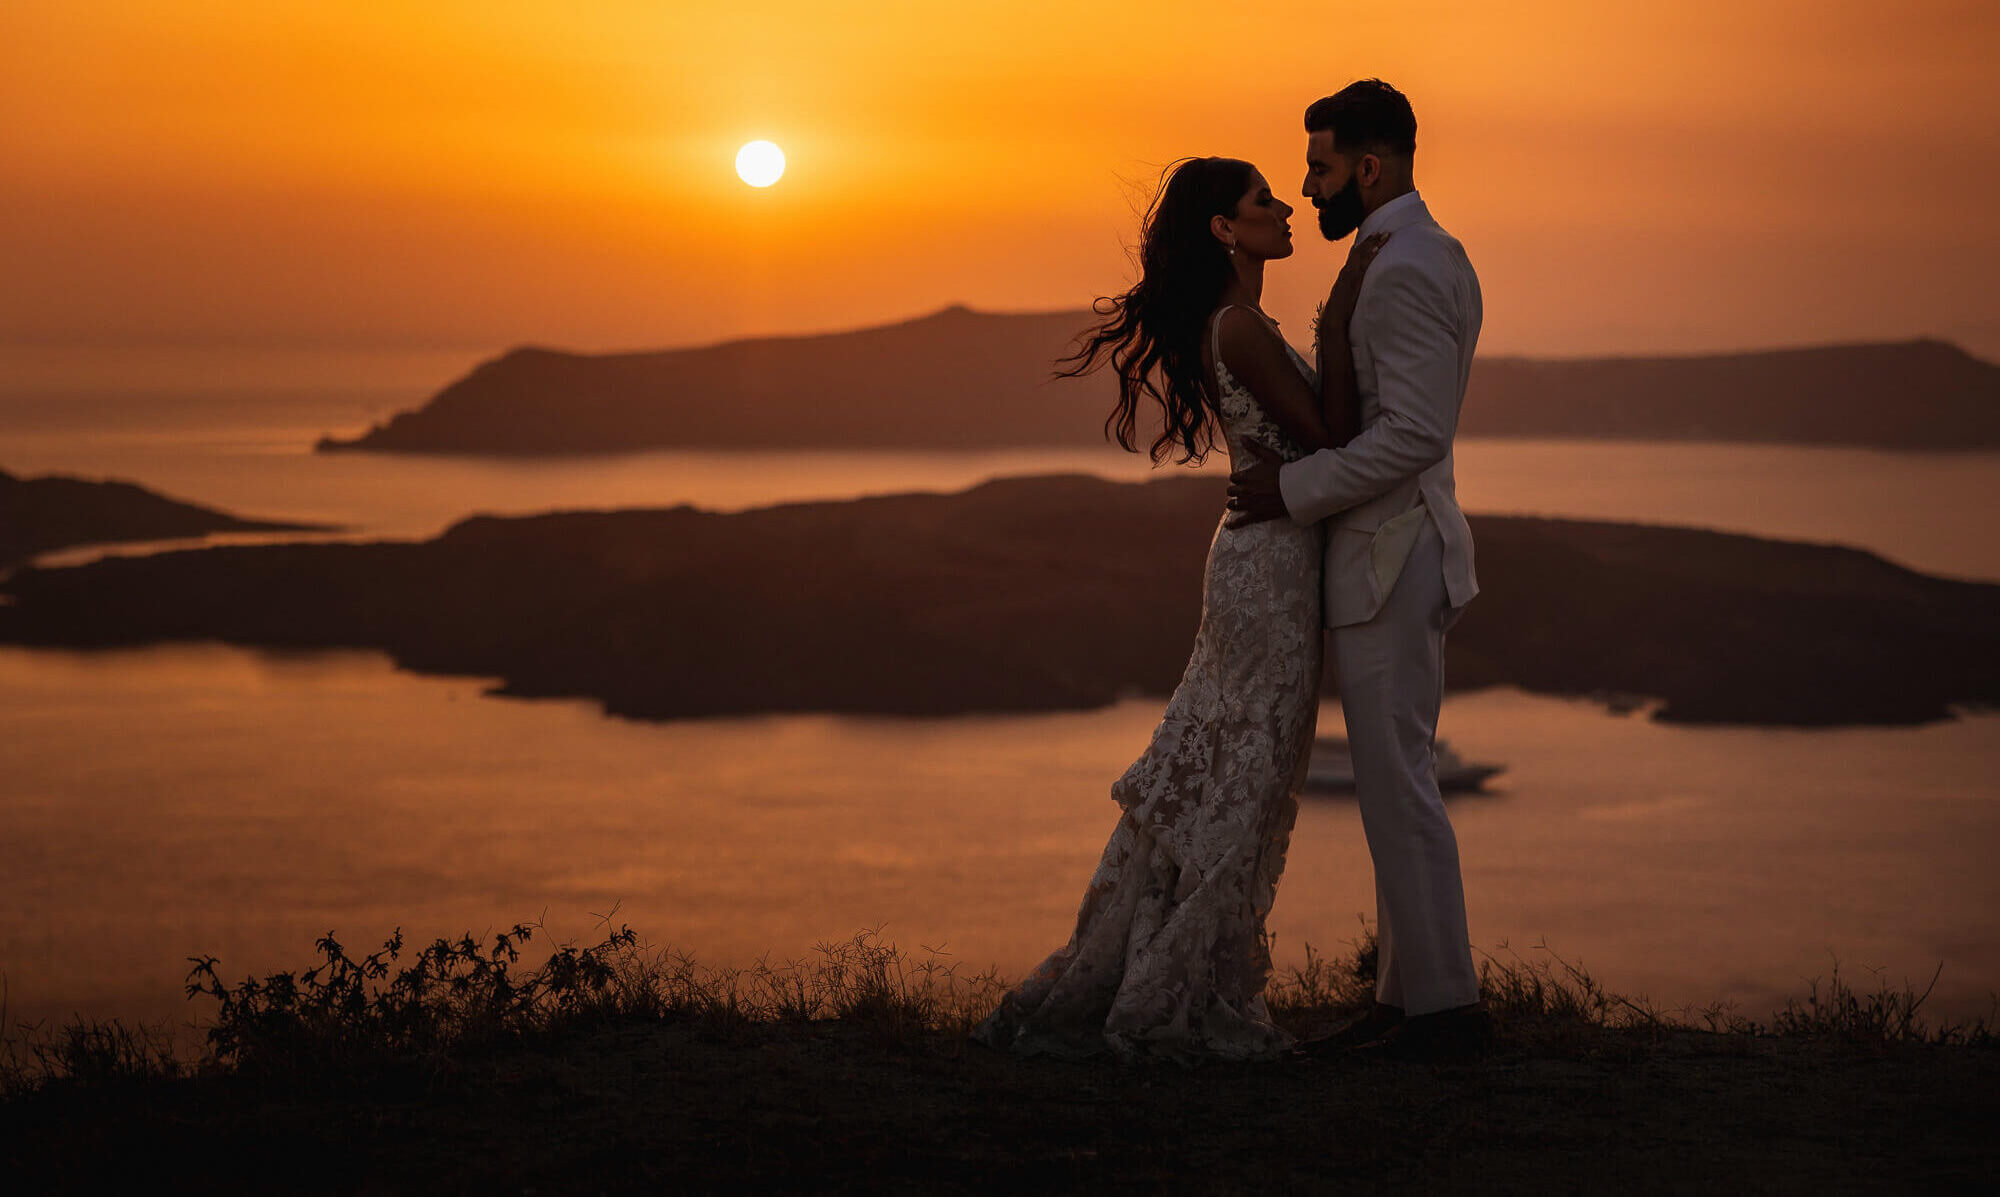
The golden hour in photography refers to the period shortly after sunrise or just before sunset when the sun casts a soft, warm light, creating ideal conditions for stunning photos.
It’s a magical time that offers photographers the opportunity to capture soft shadows, rich colors, and warm tones.
In this guide, we’ll explore why the golden hour in photography matters, how to plan your shoot around it, and tips for achieving beautiful results.
Golden Hour In Photography: Why This Light Matters Most
The golden hour in photography is celebrated for its unique quality of light. During this time, the sunlight is warmer and softer, creating a pleasing, almost ethereal atmosphere. Here’s why this light matters most for photography:
1. Soft, Warm Light
-
The sun’s low position during the golden hour creates soft, diffused light that flatters subjects and reduces harsh shadows. This is particularly advantageous for portraits, as it gently highlights facial features.
2. Rich, Vibrant Colors
-
The golden hour is known for its warm tones—golden yellows, rich oranges, and soft reds—making landscapes and portraits more dynamic and visually appealing.
3. Long, Dramatic Shadows
-
The angle of the sun during the golden hour creates long, dramatic shadows that can add depth and dimension to your photos, giving them a cinematic quality.
Because of these unique lighting qualities, the golden hour in photography offers some of the most flattering and visually striking lighting conditions available.
How To Plan Your Shoot Around The Golden Hour
Planning your shoot around the golden hour in photography requires understanding the timing and location of the light, as well as how to make the most of it. Here’s how to plan effectively:
1. Time Your Shoot
-
The golden hour is a fleeting moment, typically lasting only 30-60 minutes, so timing is crucial. Use apps or websites to check the exact times of sunrise and sunset in your location, and plan your shoot accordingly.
2. Arrive Early
-
Arriving early ensures you’re ready to take advantage of the golden hour right when it begins. It also allows you to scout your location, set up your gear, and experiment with compositions before the light changes.
3. Use the Right Location
-
Choose a location where you can easily access the best light. Open fields, beaches, or areas with interesting landscapes can take full advantage of the soft sunlight. Additionally, consider how the light interacts with your environment—whether it casts interesting shadows or illuminates specific areas.
Golden Hour In Photography: Camera Settings For Stunning Results
Capturing the best of the golden hour in photography involves understanding how your camera settings can help you make the most of the lighting conditions. Here are some settings to consider:
1. Aperture (f-stop)
-
Use a wide aperture (low f-number, such as f/1.8 to f/5.6) to achieve a shallow depth of field, allowing you to focus on your subject while beautifully blurring the background. This is especially useful for portraits during the golden hour.
2. ISO Settings
-
Since the light during the golden hour is soft but still quite bright, you can keep your ISO relatively low (around ISO 100-400) to avoid grain. If you’re shooting in the fading light, increase the ISO slightly to maintain a proper exposure without introducing too much noise.
3. Shutter Speed
-
For handheld shots, aim for a shutter speed of at least 1/125th of a second to prevent camera shake. If you’re using a tripod, you can go slower, depending on the movement of your subject.
4. White Balance
-
Set your white balance to “cloudy” or “shade” to emphasize the warm tones of the golden hour light. This can help enrich the natural warmth of your photos and prevent them from looking too cool or neutral.
Creative Composition Tips For Warm, Natural Lighting
The golden hour in photography offers an opportunity to experiment with creative compositions that take advantage of the soft, warm light. Here are some tips:
1. Use Backlighting
-
Position your subject with the sun behind them to create a stunning backlit effect. This will result in glowing edges, creating a dramatic halo around your subject. Be careful not to overexpose the highlights—use your camera’s exposure settings to control this.
2. Incorporate Leading Lines
-
Use natural leading lines, such as roads, rivers, or fences, to guide the viewer’s eye through the composition. The golden hour’s light will accentuate these lines and add a sense of depth and perspective to your photos.
3. Capture Reflections
-
If you’re shooting near water, the golden hour light will create beautiful reflections on the surface. Look for opportunities to capture the mirror image of your subject, adding an extra layer of interest to your photograph.
4. Include Shadows
-
The long shadows created during the golden hour can add depth and drama to your composition. Pay attention to how the shadows interact with the subject, and experiment with how they can enhance the overall mood.
Common Mistakes To Avoid During Golden Hour Shoots
While the golden hour in photography offers incredible opportunities, it can also present challenges. Here are some common mistakes to avoid:
1. Missing the Golden Hour
-
The golden hour lasts for a short time, so timing is crucial. Arriving late or not accounting for the changing light can cause you to miss the optimal moment.
2. Overexposing Your Photos
-
The soft light of the golden hour can sometimes trick your camera into overexposing the image. Be sure to adjust your exposure settings or use bracketing to capture the full range of light and avoid blowing out highlights.
3. Ignoring the Background
-
While focusing on the subject, it’s easy to overlook the background. Ensure that your background complements the warm lighting, and be mindful of distractions that could take away from the overall composition.
4. Not Experimenting Enough
-
Golden hour light provides a unique opportunity for creative exploration. Don’t settle for one angle or composition. Try different perspectives, incorporate reflections, and use the changing light to create varied effects in your images.
See you in the next post,
Anil UZUN

