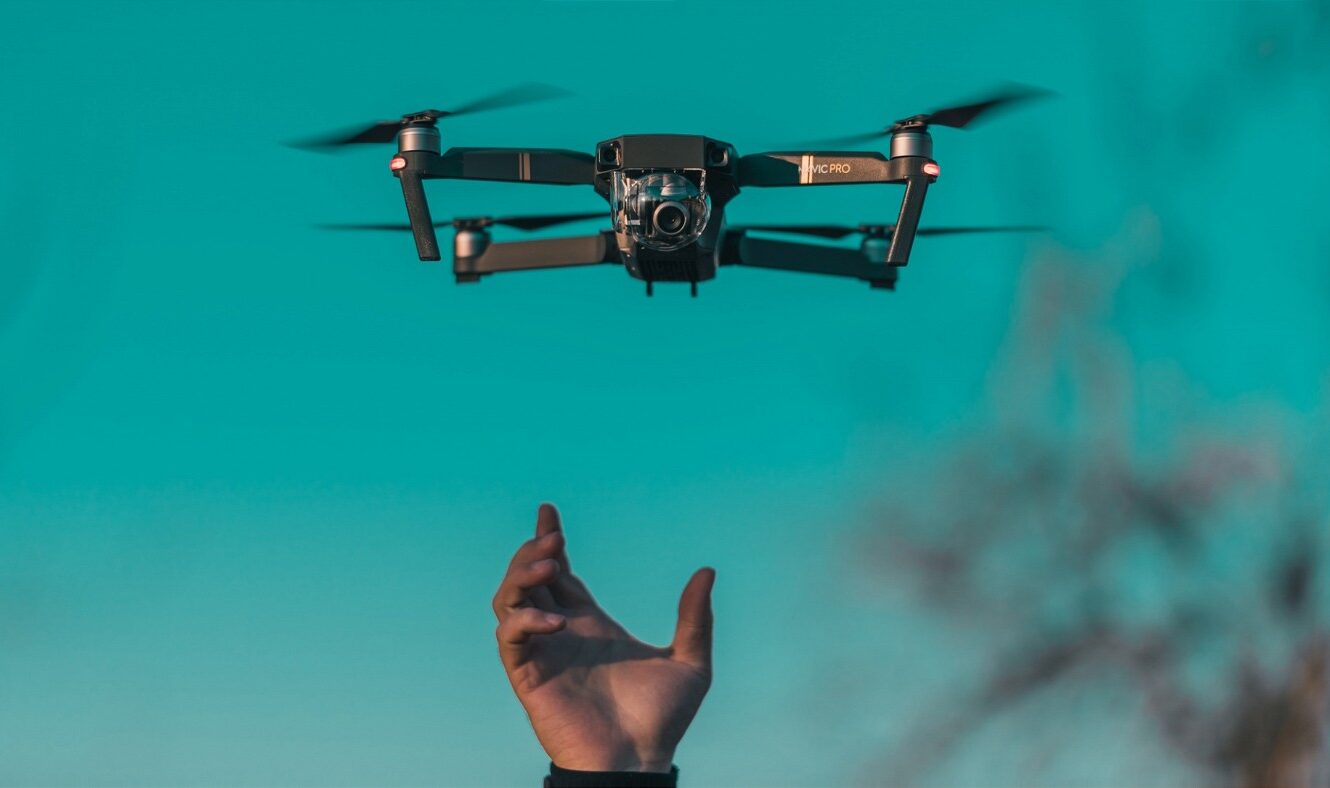
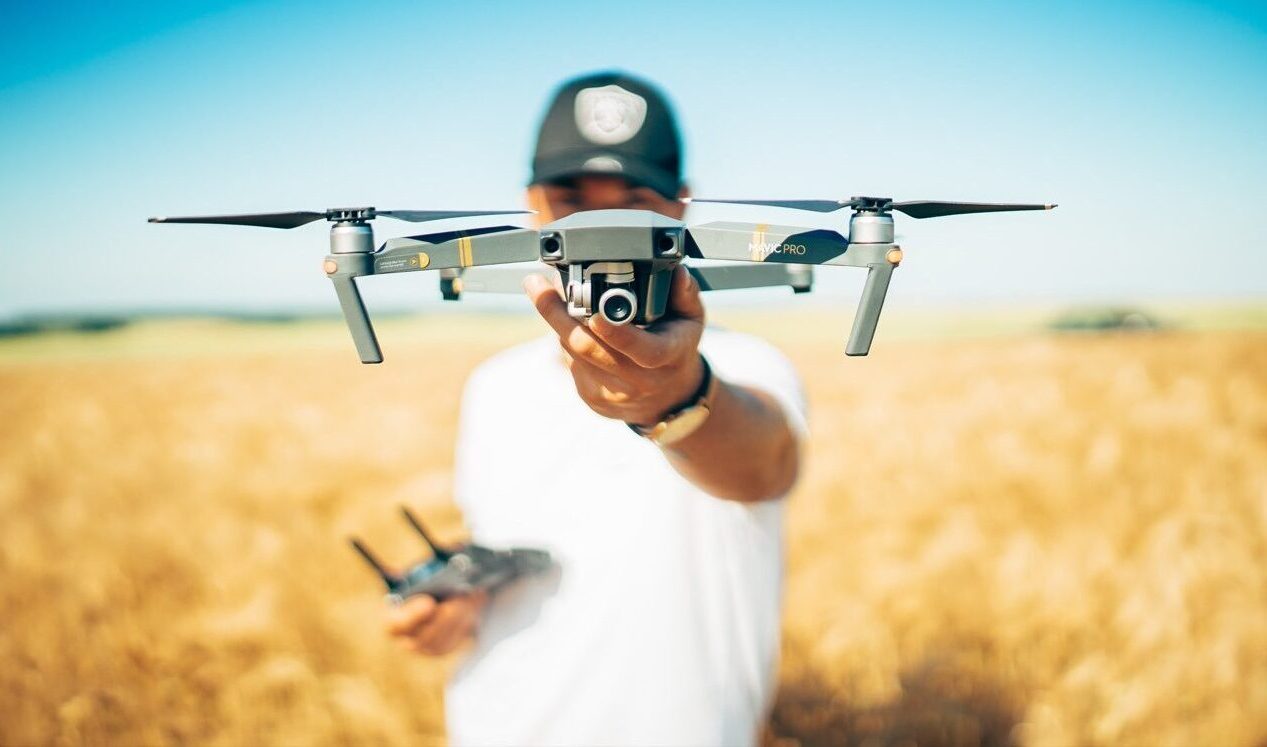
Drone photography has rapidly become a favorite tool for both amateur and professional photographers.
Offering a bird’s-eye view of the world, drones enable creators to capture breathtaking landscapes, architectural symmetry, and dynamic urban environments in ways that traditional photography simply cannot.
However, successful drone photography requires more than just buying a drone and flying it around.
Before taking off, you must understand essential equipment requirements, flight safety, optimal lighting conditions, composition strategies, and—perhaps most importantly—the legal frameworks governing drone use in your country.
A well-informed start not only improves the quality of your photos but also ensures you’re operating responsibly and legally.
In this detailed guide, we’ll walk you through everything you need to know before getting serious about drone photography, so you can soar above the rest with confidence.
Drone Photography: Essential Gear And Setup Tips
The first step in quality drone photography is choosing the right equipment. Not all drones are created equal. For photography, a drone with a high-resolution camera (at least 12MP), 3-axis gimbal stabilization, and the ability to shoot in RAW format is ideal.
Popular choices for beginners include the DJI Mini series, which balances portability and camera quality. For professionals, the DJI Mavic 3 or Autel EVO II offers larger sensors, adjustable apertures, and advanced obstacle avoidance.
In addition to the drone itself, other gear can make or break your shoot. Spare batteries are a must, as flight times usually range between 20–40 minutes. Carry extra SD cards, propeller guards, and a neutral density (ND) filter set to manage exposure in bright conditions.
Pre-flight setup includes calibrating your compass and IMU, updating firmware, and checking GPS connectivity. These steps ensure a stable flight and optimal image capture.
A well-prepared setup helps avoid frustrating delays and lets you focus on creativity during your drone photography sessions.
Understanding Weather And Lighting For Aerial Shots
Weather and light conditions play a pivotal role in the outcome of your drone photography. Wind, precipitation, and sun angles can dramatically affect both flight safety and image quality.
Mild weather with wind speeds under 15 km/h is ideal. Avoid flying in rain or fog, which can not only damage your equipment but also reduce visibility and camera clarity. Apps like UAV Forecast or Windy are helpful for monitoring real-time flight conditions.
Golden hour—shortly after sunrise and before sunset—is considered the best time for drone photography.
The warm, diffused light casts long shadows and enhances landscape textures. Midday lighting, on the other hand, tends to be harsh and unflattering.
Also consider cloud cover. A lightly overcast sky can create even, soft lighting that works beautifully for forest, beach, or urban scenes. Always plan your shots with the sun’s direction in mind to control lens flare and unwanted shadows.
Being mindful of weather and lighting helps elevate your drone photography from basic snapshots to gallery-worthy compositions.
Drone Photography: Composition Techniques From Above
Aerial perspective opens up exciting opportunities for creative composition. However, it also presents new challenges that differ from ground-level photography.
Use the rule of thirds to position your subject away from the center for dynamic impact. Leading lines—such as roads, rivers, and trails—can guide the viewer’s eye through the image and add depth.
Repetition, symmetry, and patterns become far more visible from above, so use them to your advantage.
Top-down shots (also known as nadir angles) offer graphic, almost abstract visuals, especially when shooting architectural elements, coastlines, or farmland. Oblique angles provide a sense of scale and context and are excellent for storytelling.
Framing is just as important in drone photography as it is in traditional photography. Consider what elements are at the edges of your image. Avoid distractions like vehicles, crowds, or cluttered spaces unless they’re central to your story.
Practice different altitudes and movements—rise vertically, fly horizontally, orbit around subjects—to discover your unique style.
Legal Requirements And Safety Rules For Flying Your Drone
No matter how artistic your goals are, drone photography must comply with your country’s drone regulations. These laws are in place to protect people, wildlife, airspace, and property.
In most countries, drones above 250 grams must be registered. Operators may also need to complete a basic online course or obtain a license. Commercial use typically requires a separate certification.
Always fly within visual line of sight (VLOS), and never above 120 meters unless permitted. Stay away from airports, military bases, and densely populated areas. Some parks, cities, or private properties may require prior written consent to fly.
In the U.S., check FAA regulations; in the UK, consult the Civil Aviation Authority (CAA); and in the EU, refer to EASA guidelines.
Safety-wise, never fly in strong winds, and always perform a pre-flight checklist. This includes checking battery levels, propellers, GPS connection, and emergency return-to-home settings.
Staying informed about laws ensures your drone photography remains both legal and ethical.
Drone Photography: Common Mistakes And How To Avoid Them
Even experienced pilots fall into common traps that can diminish the quality and safety of their drone photography. Being aware of these mistakes can help you avoid them altogether.
One major mistake is underestimating battery life. Always monitor your remaining flight time and return to home with a buffer of at least 25%. Running out of battery mid-flight is one of the leading causes of drone crashes.
Another mistake is poor pre-flight planning. Skipping the weather check, forgetting to format SD cards, or flying with outdated firmware can derail your session. A basic checklist can prevent many issues.
Ignoring composition and just “shooting from above” is another common pitfall. Use intentional angles, subjects, and framing techniques instead of relying solely on altitude to impress.
Lastly, some users fly recklessly—too close to buildings, people, or wildlife. Besides being dangerous, this can lead to legal action or loss of equipment.
Avoiding these mistakes ensures your drone photography sessions are safer, smoother, and more rewarding.
See you in the next post,
Anil UZUN

