Studio photography requires a controlled environment where photographers can manipulate lighting, backgrounds, and camera settings to achieve high-quality results.
Whether you are capturing portraits, product shots, fashion photography, or creative compositions, having the right studio photography equipment is essential for professional-quality images.
In this guide, we will explore the must-have studio equipment, lighting setups, background choices, camera and lens recommendations, and post-processing techniques to take your studio photography to the next level.
Studio Photography: Must-Have Equipment For Professional Shots
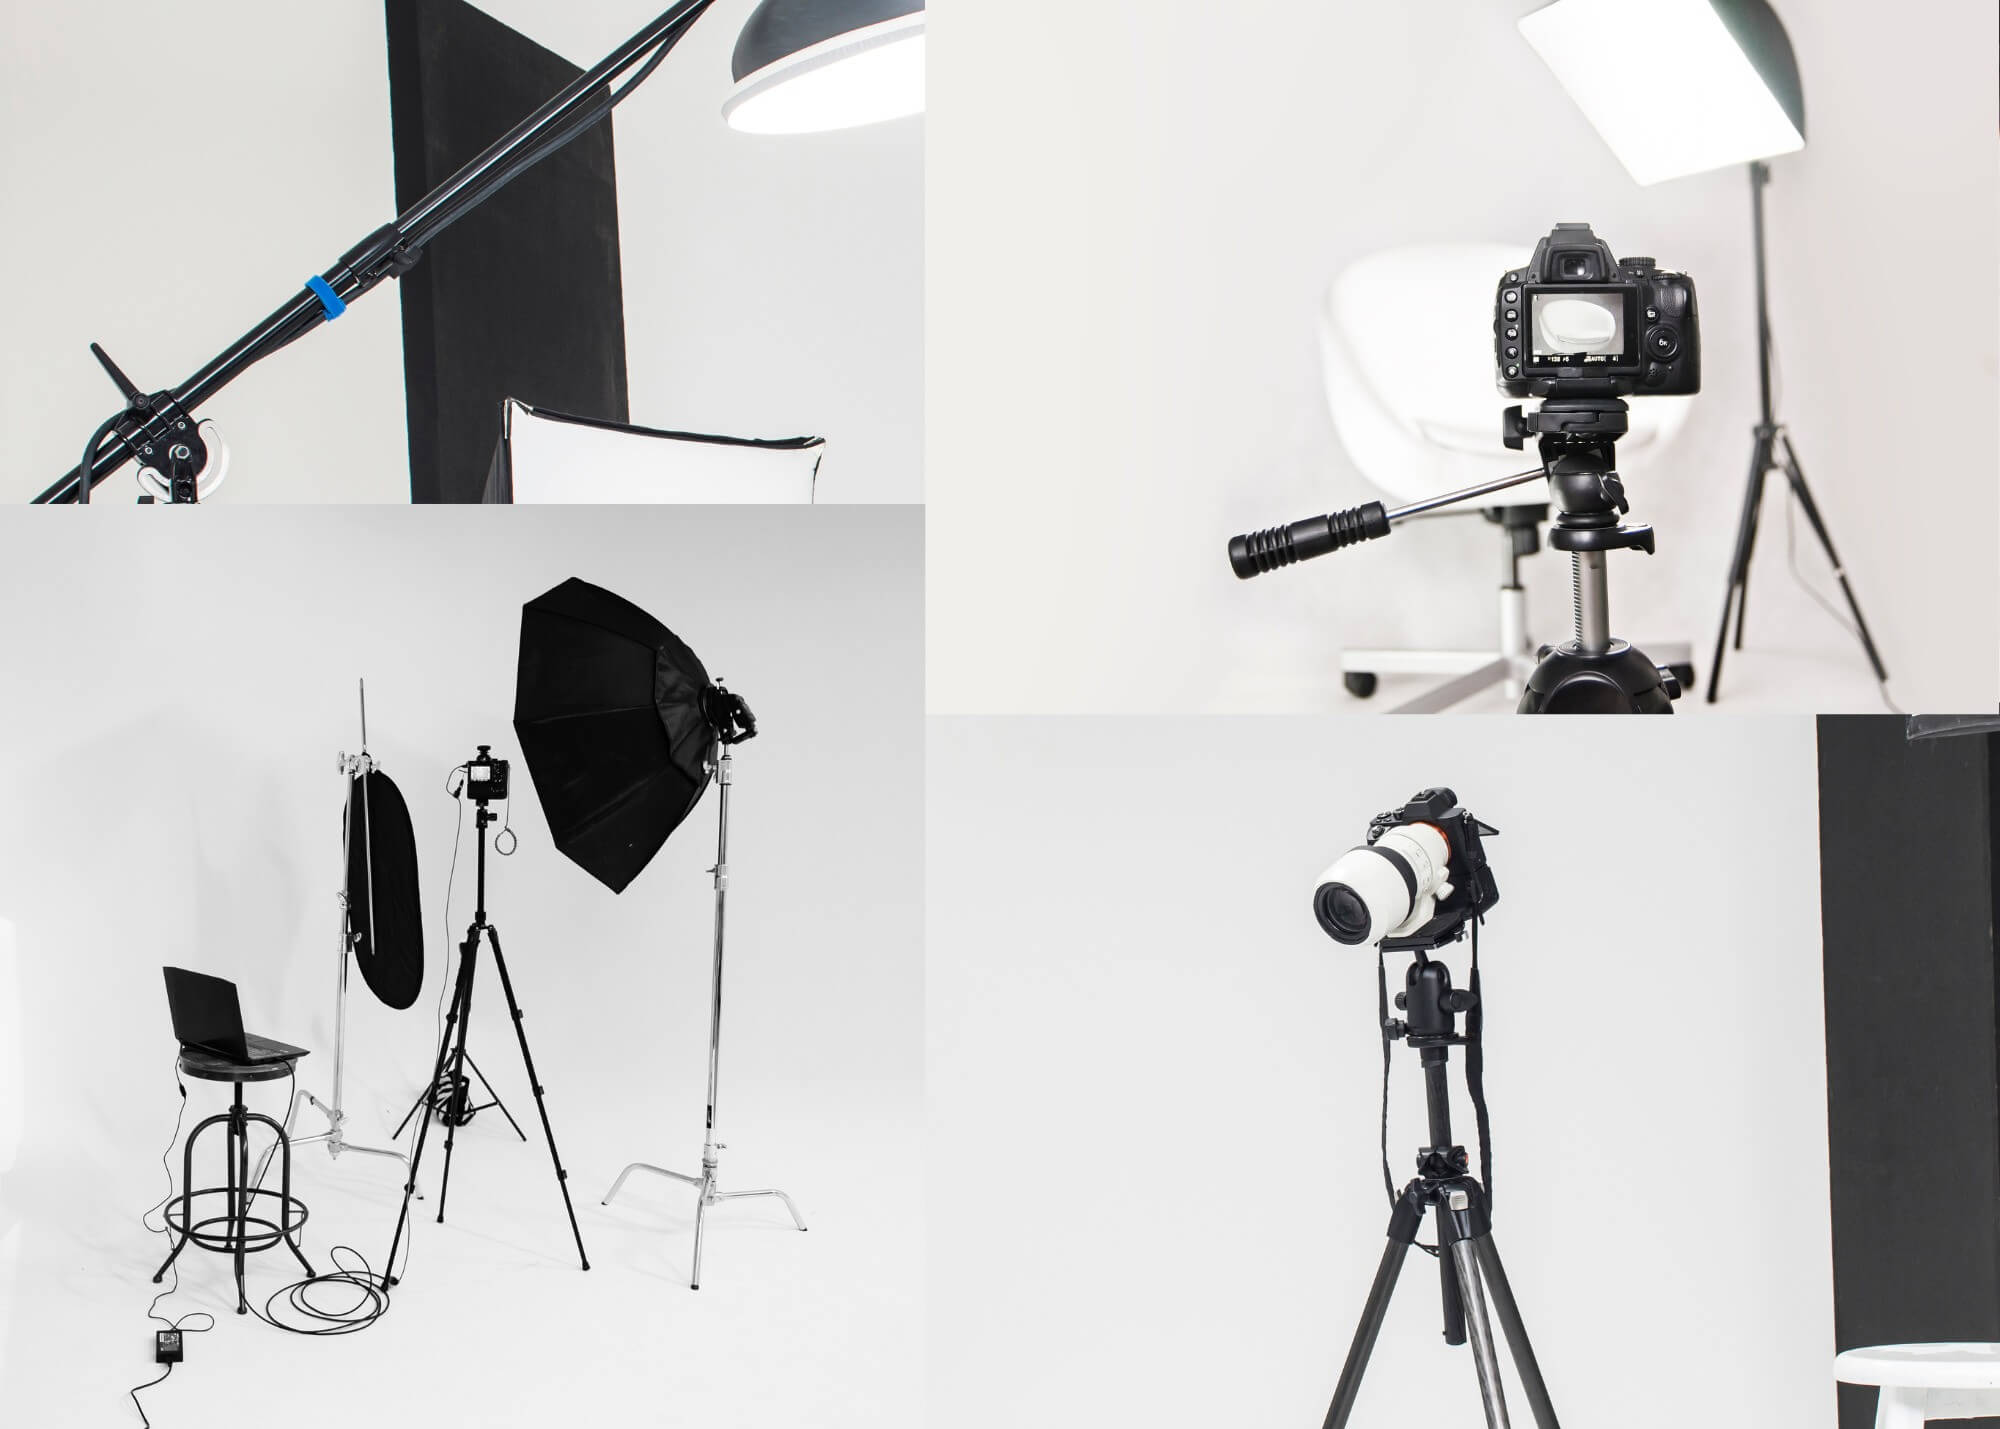
To get started with studio photography, you need a well-equipped setup that allows flexibility and creative control. Here are the essential tools every studio photographer should have:
1. Camera
- A high-resolution DSLR or mirrorless camera is ideal for capturing fine details in studio photography.
- Recommended models: Canon EOS R5, Nikon Z7 II, Sony A7R IV for their high megapixel count and dynamic range.
2. Lenses
- 50mm or 85mm prime lenses – Ideal for portrait studio photography, offering sharpness and beautiful bokeh.
- 24-70mm zoom lens – Versatile for different compositions, great for fashion and commercial photography.
- 100mm macro lens – Essential for product photography, capturing fine textures and small details.
3. Lighting Equipment
- Strobe lights or continuous LED panels – Provide consistent illumination for professional studio shots.
- Softboxes and umbrellas – Help diffuse and soften harsh lighting for a more natural look.
- Reflectors and diffusers – Essential for balancing shadows and highlights.
4. Backgrounds and Backdrop Stand
- Seamless paper, fabric, or vinyl backdrops – Available in different colors for creative versatility.
- Green screen (chroma key) – For digital background replacements.
5. Tripod and Remote Trigger
- A sturdy tripod keeps the camera stable, ensuring sharp images.
- A remote trigger minimizes camera shake during long exposure shots.
Investing in the right studio photography gear will allow you to produce professional and high-quality images consistently.
How To Choose The Right Lighting Setup For Studio Photography
Lighting is the foundation of studio photography, and understanding different lighting techniques is crucial for achieving stunning results. Here’s how to choose and set up studio lighting:
1. Key Light (Main Light)
- The primary source of illumination in studio photography.
- Positioned at a 45-degree angle to create depth and dimension.
- Softbox or beauty dish helps diffuse the light for a softer look.
2. Fill Light
- Reduces harsh shadows created by the key light.
- Can be a reflector or a second soft light source placed on the opposite side.
3. Rim Light (Hair Light or Backlight)
- Positioned behind the subject to create separation from the background.
- Commonly used in portrait and fashion photography.
4. Background Light
- Used to illuminate the background separately, adding texture or creating a dramatic effect.
5. Continuous Light vs. Strobe Light
- Continuous lighting (LED panels, fluorescent, or tungsten) is great for video and beginners.
- Strobe lights offer powerful, high-speed flashes for better exposure control in photography.
Choosing the right lighting setup ensures your studio photography captures the right mood, contrast, and professional appeal.
The Importance Of Backgrounds And Composition In Studio Photography
The background and composition play a significant role in studio photography, shaping the mood and focus of your shots. Here’s how to make the most of your studio setup:
1. Choosing the Right Background
- Seamless white backgrounds – Ideal for clean, professional-looking commercial and product photography.
- Black backgrounds – Perfect for dramatic, high-contrast portrait photography.
- Textured and colored backgrounds – Add depth and creativity to fashion and artistic shots.
2. Using Depth and Composition Techniques
- Rule of Thirds – Position the subject slightly off-center to create a balanced composition.
- Leading Lines – Guide the viewer’s eye towards the subject using elements in the frame.
- Negative Space – Allows the subject to stand out against a simple backdrop.
3. Using Props and Creative Background Elements
- Adding props, furniture, or decorative elements can enhance the storytelling aspect of studio photography.
- Experimenting with background gels can introduce colored lighting effects for artistic shoots.
Mastering background selection and composition techniques ensures studio photography results that are visually compelling and professional.
Best Camera And Lens Choices For High-Quality Studio Images

Using the right camera and lens combination is crucial for capturing sharp, high-resolution images in studio photography. Here are the best options:
1. Best Cameras for Studio Photography
- Canon EOS R5 / Canon 5D Mark IV – Excellent for portrait and fashion photography.
- Nikon Z7 II / Nikon D850 – High dynamic range and superb detail retention.
- Sony A7R IV – Mirrorless option with 61 MP resolution, ideal for commercial work.
2. Best Lenses for Studio Photography
- 50mm f/1.8 or f/1.4 (Prime Lens) – Excellent for portraits with natural perspective.
- 85mm f/1.4 (Prime Lens) – Great for headshots and capturing soft background blur.
- 24-70mm f/2.8 (Zoom Lens) – Versatile for wide-angle and mid-range compositions.
- 100mm f/2.8 Macro Lens – Perfect for product photography with fine detail capture.
Selecting the right camera and lens combination ensures studio photography images that are crisp, well-lit, and full of detail.
Editing And Post-Processing Techniques To Enhance Studio Photos
Post-processing is an essential step in studio photography, ensuring that the final image is polished and professional. Here are key editing techniques:
1. Color Correction and White Balance Adjustment
- Adjust temperature and tint for accurate skin tones.
- Correct color casts caused by studio lighting.
2. Retouching and Skin Smoothing
- Use frequency separation in Photoshop to smooth skin while retaining natural texture.
- Remove blemishes and refine skin tones for polished portrait studio photography.
3. Enhancing Shadows and Highlights
- Use Dodge & Burn techniques to shape the lighting in your images.
- Adjust contrast and clarity to bring out depth and dimension.
4. Background Cleanup and Refinement
- Remove wrinkles, dust, or unwanted elements in the background.
- Use masking and layer adjustments to create a seamless effect.
5. Sharpening and Final Touches
- Apply selective sharpening for added detail in the subject’s features.
- Export images in high resolution for print and web use.
Post-processing takes studio photography from good to great, ensuring a flawless and visually striking final image.
Studio photography demands the right balance of equipment, lighting control, composition, camera expertise, and post-production skills.
By understanding these essential elements, photographers can achieve high-quality, professional results in their studio work.
See you in the next post,
Anil UZUN