Reflection in photography is one of the most powerful yet underutilized techniques that can transform ordinary images into visually compelling pieces.
From puddles and lakes to glass windows and polished surfaces, reflections add a new dimension to your compositions. They create balance, symmetry, depth, and even emotion when used creatively.
Whether you are shooting landscapes, street scenes, or portraits, mastering the use of reflection in photography opens up countless artistic possibilities.
Reflections can amplify the beauty of a scene or introduce a surreal twist, often drawing the viewer deeper into the image. Unlike artificial effects, reflections rely on natural elements and lighting, making the technique both challenging and rewarding.
In this guide, we explore how to create powerful visuals using reflection in photography, with an emphasis on water, glass, and natural light. You’ll also discover essential gear tips, creative approaches, and common mistakes to avoid.
Reflection In Photography: Creating Depth And Symmetry
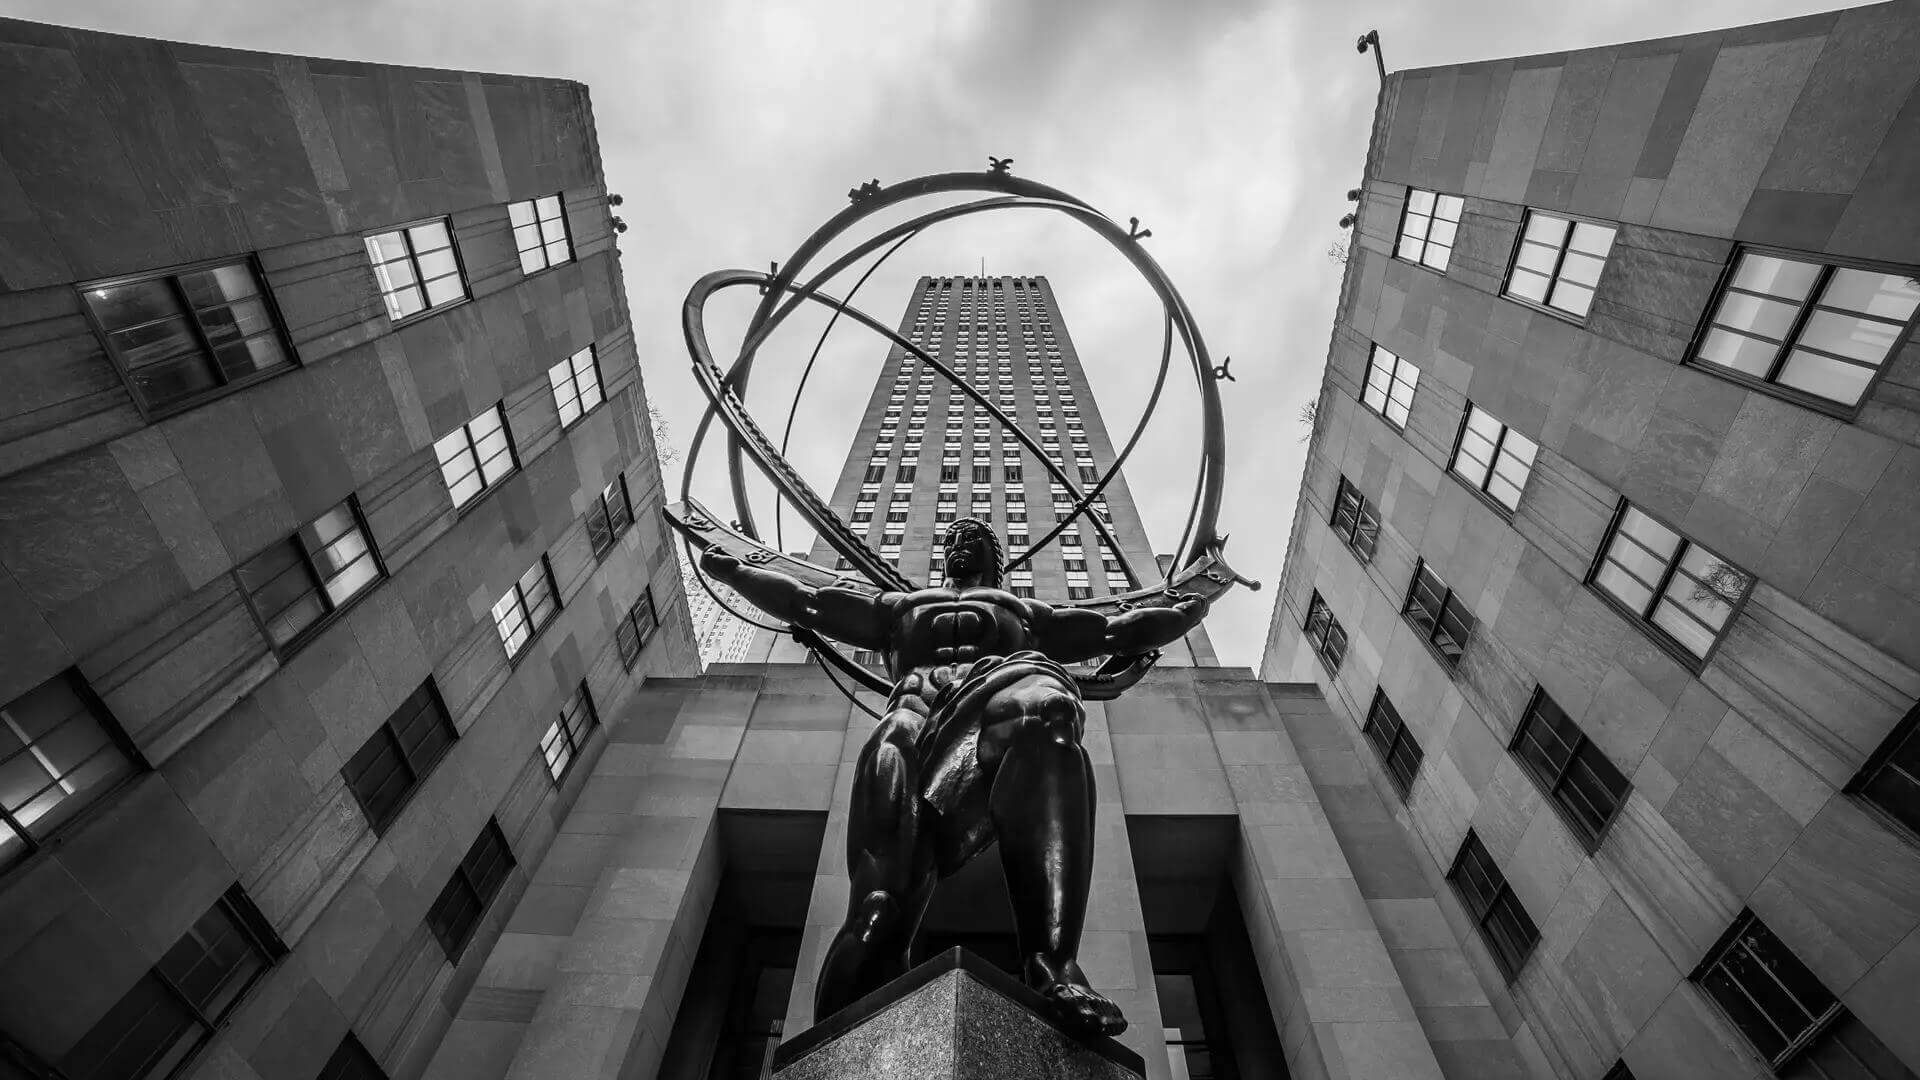
One of the key visual benefits of reflection in photography is its ability to add depth and symmetry to a shot.
A well-placed reflection can mirror your subject perfectly, creating a balanced composition that is both aesthetically pleasing and emotionally impactful. Depth is achieved when reflections extend the viewer’s perception of the scene.
For example, in a photo where mountains reflect in a lake, the image feels more expansive and immersive. Similarly, symmetry created by a reflection can introduce harmony and draw the viewer’s eye to the center of the composition.
To master this technique, try placing your subject above or in front of a reflective surface and position your camera at a low angle. This alignment allows you to capture both the subject and its mirrored image clearly.
When composing your shot, look for natural frames like bridges or windows that enhance the symmetrical feel. Using reflection in photography this way requires patience and precision, but the results often speak for themselves.
How To Use Water And Glass For Striking Reflections
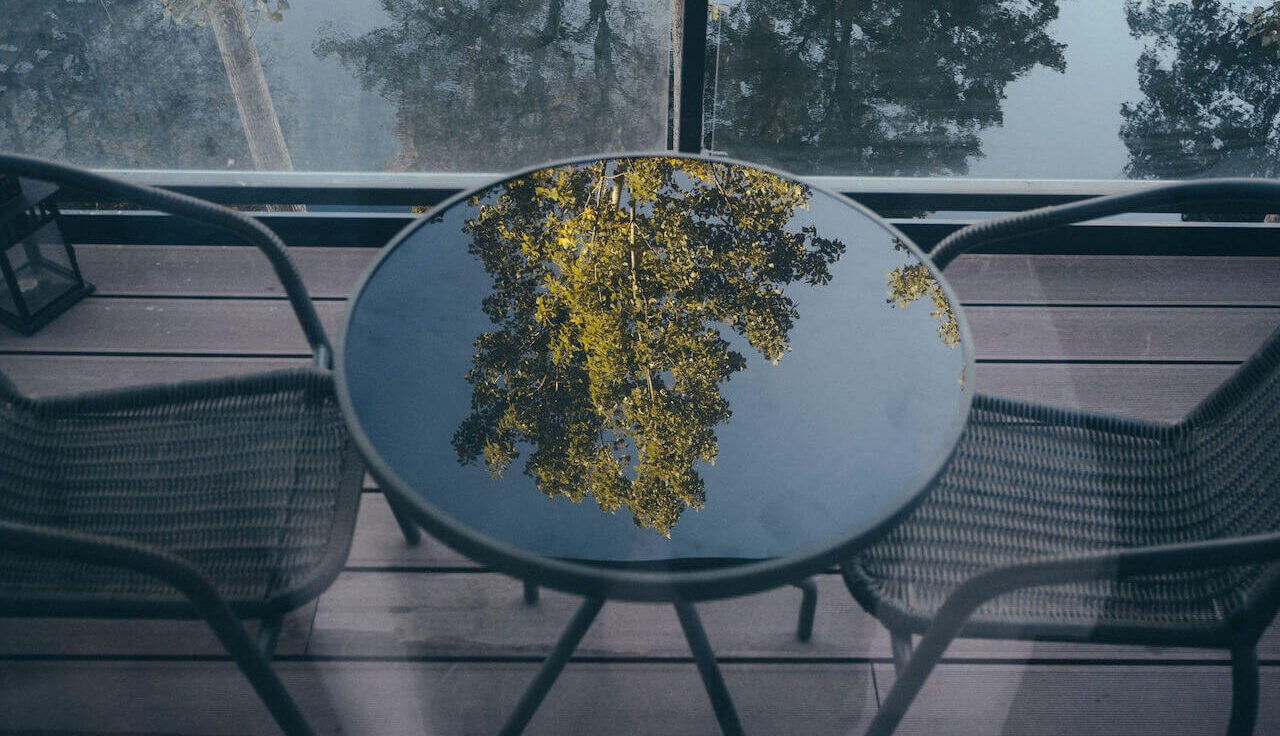
Water and glass are two of the most common and effective surfaces for reflection in photography.
Each comes with its own set of characteristics that can be creatively exploited depending on your subject and style. Water reflections are versatile and dynamic.
Whether it’s a still puddle after rain, a calm lake, or even a city fountain, water can reflect skies, buildings, people, or lights in stunning ways. Look for clean, undisturbed water for sharper reflections, or use ripples to create a more abstract and artistic look.
Glass, on the other hand, is great for urban photography and architectural shots. Building facades, store windows, and car mirrors offer endless opportunities to include multiple layers in one frame.
Position your subject close to the reflective surface and find an angle where light enhances the contrast between real and reflected elements.
To elevate your use of reflection in photography, explore rainy days, sunrise and sunset hours, or even create your own portable reflection using a small mirror or glass sheet.
Reflection In Photography: Best Techniques For Natural Light
Light plays a crucial role in the success of any reflection in photography shot. Unlike flash-based setups, reflections thrive under natural lighting conditions, which enhance realism and dynamic range.
The golden hours—early morning and late afternoon—offer the softest and most flattering light. During these times, reflections in water or glass are warmer in tone and less prone to harsh shadows.
Midday sun can also work, but you’ll need to adjust your angle to reduce overexposure and glare. Always observe where the light is coming from.
Side lighting works particularly well for enhancing textures and layers in reflections, while backlighting can create silhouettes or double exposures. Another useful technique is to slightly underexpose your shot.
This allows you to preserve more details in the highlights of the reflected surface, especially in bright conditions. Using a polarizing filter can also help reduce unwanted reflections from non-essential elements, giving you more control over the composition.
If you want your reflection in photography to look natural and dramatic, mastering the behavior of natural light is key.
Gear And Settings To Master Reflective Shots
Although reflection in photography is mostly about creativity and vision, having the right gear and settings can significantly improve your results. Start with a wide-angle or standard prime lens to give you flexibility in framing.
A tripod is invaluable when shooting in low light or when you need perfect alignment. This is particularly useful in water reflection shots where any movement can blur the mirrored image.
For settings, keep your aperture around f/8 to f/11 for sharpness across the frame. Use ISO as low as possible to avoid grain, and adjust shutter speed based on the available light.
In low-light situations, use slower shutter speeds, but remember to stabilize your camera. Manual focus gives you more control when working with reflective surfaces.
Autofocus can sometimes be fooled by the reflection itself, so it’s better to fine-tune it manually for precision. A cleaning cloth also comes in handy if you’re working with glass surfaces.
Keeping your reflective area clean ensures clarity and eliminates distracting smudges or dust. Combining the right tools with good technique makes reflection in photography not just more accessible but also more consistent in quality.
Reflection In Photography: Avoiding Common Mistakes
While reflection in photography can yield breathtaking images, several pitfalls can compromise your results if not addressed early on. One of the most common mistakes is poor composition.
Simply including a reflection doesn’t guarantee a strong image. You need to think about how the reflection supports the subject, where the visual balance lies, and whether any part of the frame feels distracting or unnecessary.
Another frequent issue is overexposure or underexposure. Reflective surfaces often confuse your camera’s metering system, leading to washed-out highlights or lost details in shadows. Always review your histogram and use exposure compensation if needed.
Fingerprints, water spots, or dust on glass can ruin a shot, especially in high resolution. Always inspect and clean your reflective surface before shooting. Similarly, small ripples or moving subjects can make reflections look distorted if you’re not going for an abstract result.
Finally, overediting reflections in post-processing can result in an artificial look. Keep edits minimal and realistic. Enhance contrast and saturation carefully to preserve the organic feel of the scene.
By avoiding these common errors, you ensure your efforts in reflection in photography result in clean, meaningful, and artistic images.
See you in the next post,
Anil UZUN